Mastering Shading Techniques for Drawing: The Ultimate Guide for Beginners
Shading is the transformative element that elevates a simple line drawing into a realistic, three-dimensional masterpiece. For many aspiring artists, the transition from outlines to form can feel intimidating. However, understanding shading techniques for drawing is not about innate talent; it is about mastering the logic of light and the mechanics of your tools.
In this comprehensive guide, you will learn the fundamental principles of light, the essential tools required, and step-by-step shading methods that will bring depth and realism to your artwork. Whether you are picking up a pencil for the first time or looking to refine your skills, this pillar content serves as your definitive roadmap.
1. Understanding the Logic of Light and Shadow
Before you touch your pencil to paper, you must understand why shadows exist. Shading is essentially the representation of how light interacts with a three-dimensional object.
Identifying Your Light Source
The light source is the origin of the light hitting your subject. It could be the sun, a lamp, or an open window. Once you establish the direction of the light, every shadow on your drawing must correspond to that direction. If the light comes from the top-left, your shadows will naturally fall toward the bottom-right.
The Anatomy of a Shadow
To create a realistic 3D effect, you must recognize the five key areas of light and shadow:
- Highlight: The brightest spot where the light hits the object directly.
- Midtone (Halftone): The actual color or value of the object, located between the highlight and the shadow.
- Core Shadow: The darkest area on the object itself, where the light cannot reach.
- Reflected Light: A faint light on the edge of the shadow side, caused by light bouncing off the surrounding surface back onto the object.
- Cast Shadow: The dark shape an object throws onto a nearby surface (like the ground).
2. Essential Art Supplies for Shading
Your choice of tools significantly impacts the quality of your tonal value and the smoothness of your transitions.
Graphite Pencil Grades
Pencils are graded on a scale from H (Hard) to B (Black/Soft).
- H Pencils (9H to H): These contain more clay, making them harder and lighter. They are excellent for fine details and initial sketches.
- HB Pencils: The standard middle ground, similar to a school pencil.
- B Pencils (B to 9B): These contain more graphite, making them softer and darker. For deep, rich shadows, you will primarily use 2B, 4B, and 6B pencils.
Blending Tools
While some artists prefer “pure” pencil strokes, others use tools to soften transitions:
- Blending Stumps (Tortillons): Rolled paper sticks used to smudge graphite for a smooth finish.
- Tissues or Cotton Swabs: Excellent for blending large areas softly.
- Chamois Cloth: Used for creating very subtle, hazy textures.
Erasers as Drawing Tools
Erasers are not just for fixing mistakes; they are for “drawing” light. A kneaded eraser is essential because you can mold it into a sharp point to lift graphite and create highlights or reflected light.
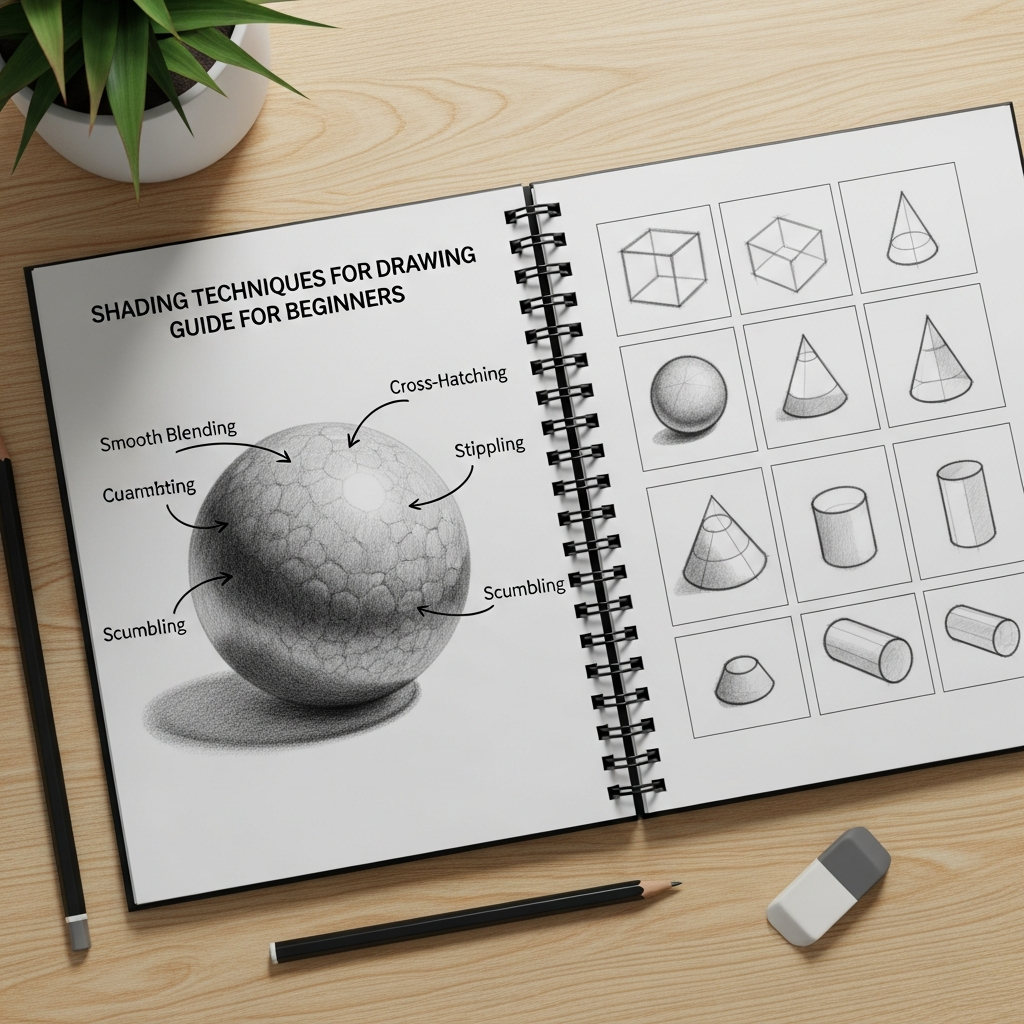
3. 7 Essential Shading Techniques for Beginners
There are various ways to apply graphite to paper. Each technique offers a different texture and mood to your drawing.
1. Hatching
Hatching involves drawing a series of parallel lines. The closer the lines are to each other, the darker the area appears. This technique is common in architectural drawings and rapid sketches. You should maintain consistent pressure and spacing to ensure a clean look.
2. Cross-Hatching
Cross-hatching is an extension of hatching. After drawing your first set of parallel lines, you layer a second set of lines on top at an angle (usually perpendicular). This creates a mesh-like pattern that allows for very dark tonal values and complex textures.
3. Stippling (Pointillism)
Stippling is the process of creating an image using small dots. The density of the dots determines the darkness of the shadow. While time-consuming, stippling provides incredible control and a unique, grainy aesthetic often seen in vintage illustrations.
4. Blending (Smooth Shading)
This is the most popular technique for realistic portraits. You apply a layer of graphite and then use a blending stump or tissue to smooth out the pencil strokes. The goal is to eliminate visible lines, creating a seamless transition from light to dark.
5. Circulism (Scumbling)
Circulism involves drawing tiny, overlapping circles. By varying the size of the circles and the pressure of the pencil, you can create a soft, skin-like texture. This is a favorite among portrait artists because it mimics the natural pores and irregularities of human skin.
6. Contour Shading
In contour shading, your lines follow the shape or “contour” of the object. If you are shading a sphere, your lines should be curved. This reinforces the 3D form of the object, making it look much more volumetric than straight hatching would.
7. Rendering
Rendering is the most advanced form of shading. It involves using a combination of techniques and an eraser to “render” the exact texture of a surface, such as the roughness of a stone or the sheen of silk. It requires a deep understanding of value scales.
4. The Importance of a Value Scale
A value scale is a chart that shows a range of tones from the absolute whitest white to the darkest black. As a beginner, you should practice creating a 9-step or 10-step value scale.
Why is this important?
Most beginners are afraid to go dark. They stay in the middle range of grays, which results in a “flat” or “muddy” drawing. By practicing a value scale, you train your eyes to recognize the full spectrum of light. A successful drawing usually contains the full range of values, providing the contrast necessary for a realistic 3D effect.
5. Step-by-Step Guide: Shading Your First Sphere
Follow these steps to apply your knowledge to a basic geometric form.
Step 1: Sketch the Outline
Draw a light circle using an HB pencil. Do not press hard, as you may need to adjust the shape later.
Step 2: Define the Light Source
Draw a small arrow indicating where the light is coming from. Let’s assume the top-right.
Step 3: Map Out the Shadows
Lightly mark the boundary of the core shadow and the cast shadow. This acts as a “map” for your shading.
Step 4: Apply the Midtones
Using a 2B pencil, start filling in the areas away from the light source with a light, even layer of graphite. Leave the highlight area (the part closest to the light) completely white.
Step 5: Build the Core Shadow
Switch to a 4B or 6B pencil. Darken the core shadow area. Remember to leave a small sliver of reflected light at the very edge of the sphere to separate it from the ground.
Step 6: Add the Cast Shadow
The cast shadow should be the darkest part of your drawing, especially the area directly underneath the sphere (the occlusion shadow). Use your darkest pencil (6B or 8B) here.
Step 7: Blend and Refine
Use a blending stump to soften the transitions between the midtones and the core shadow. Finally, use your kneaded eraser to “pop” the highlight and clean up the edges.
6. Common Shading Mistakes to Avoid
Even experienced artists fall into these traps. Being aware of them will accelerate your progress.
- Over-Blending: Smudging everything can make your drawing look “dirty” or “muddy.” Keep some crisp edges to maintain clarity.
- Outlining Shadows: Shadows do not have hard outlines in real life. They are gradients of light. Avoid drawing a line around your shadow; instead, let the change in value define the edge.
- Using the Wrong Pencil: Trying to get a deep black with an HB pencil will result in a shiny, silver texture that looks unnatural. Use the softer B pencils for dark areas.
- Ignoring the Background: Sometimes, a highlight only stands out because the background behind it is slightly darker. Consider the environment, not just the object.
- Using Your Finger to Blend: Your skin contains natural oils. When you blend with your finger, these oils transfer to the paper, making it difficult to erase or layer more graphite later. Always use a tool.
7. Expert Tips to Elevate Your Drawing Skills
To truly master shading techniques for drawing, you must look beyond the basics.
1. Sharpen Your Pencils Frequently
A dull pencil creates grainy, inconsistent textures. For fine hatching and detailed shading, keep your pencil points sharp.
2. Use a “Slip Sheet”
Place a clean piece of paper under your hand as you draw. This prevents your palm from smudging the work you have already completed.
3. Squint Your Eyes
When looking at your reference photo or subject, squint your eyes. This filters out the detail and allows you to see the broad shapes of light and dark more clearly.
4. Practice Daily “Value Studies”
Spend 10 minutes a day shading simple shapes—cubes, cylinders, and cones. These are the building blocks of more complex subjects like the human body or landscapes.
8. Conclusion
Mastering shading techniques for drawing is a journey of observation and patience. By understanding the behavior of light, choosing the right tools, and practicing diverse methods like hatching and blending, you can turn a flat sketch into a vivid, realistic image.
Remember, the key to great shading is contrast. Do not be afraid of the dark values; they are what make your highlights shine. Keep practicing your value scales, experiment with different pencil grades, and most importantly, enjoy the process of bringing your drawings to life.