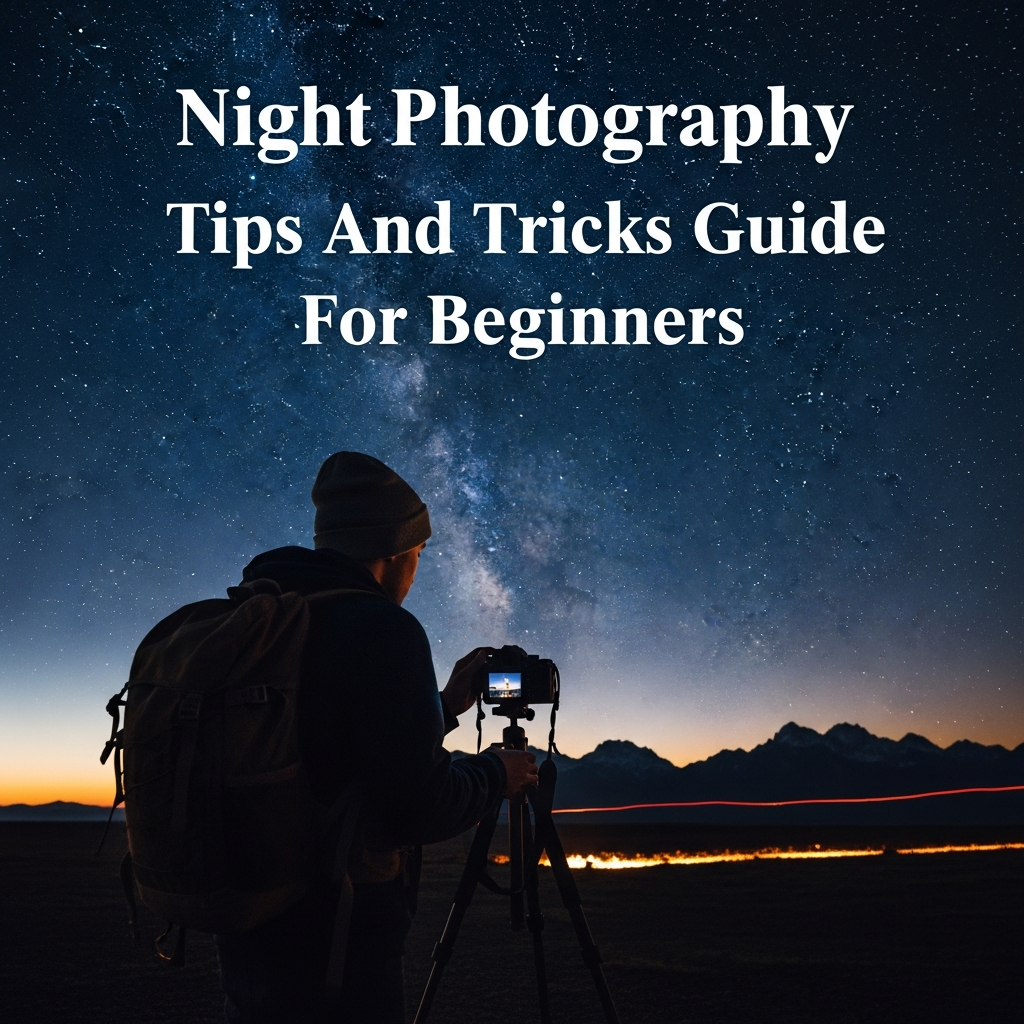
Night Photography Tips And Tricks: The Ultimate Guide For Beginners
Capturing the world after the sun goes down reveals a completely different perspective of our surroundings. The vibrant streaks of car lights, the serene glow of the moon, and the glittering cityscapes offer a magical canvas for any photographer. However, for many beginners, night photography can feel like an intimidating challenge filled with blurry images and excessive digital noise.
You may have tried to take a photo at night only to find it dark, grainy, or hopelessly out of focus. This is because low-light environments push your camera equipment to its absolute limits. To succeed, you must move beyond “Auto” mode and master the art of manual control. This comprehensive guide provides the essential night photography tips and tricks you need to transform your nocturnal images from snapshots into works of art.
1. Essential Gear for Night Photography
While modern cameras are increasingly capable in low light, night photography is a discipline where your gear significantly impacts the final result. You do not need the most expensive kit, but you do need specific tools to handle long exposures.
The Importance of a Sturdy Tripod
If there is one non-negotiable item for night photography, it is a sturdy tripod. Because you will be using slow shutter speeds (often ranging from 1 to 30 seconds), even the slightest vibration from your hands will result in a blurry image. Look for a tripod that is heavy enough to withstand wind but portable enough for you to carry to your location.
Lenses: Wide-Angle and Fast Apertures
While you can use a kit lens, a wide-angle lens with a “fast” aperture (f/2.8 or wider) is ideal. Wide-angle lenses allow you to capture expansive cityscapes or the Milky Way. A fast aperture allows more light to hit the sensor, which is crucial when working in total darkness.
Remote Shutter Release
Even the act of pressing the shutter button can cause “camera shake.” A remote shutter release or a cable release allows you to trigger the camera without touching it. If you do not have one, you can use the camera’s built-in self-timer (set to 2 or 10 seconds) to achieve the same effect.
2. Mastering the Exposure Triangle at Night
To capture high-quality night photos, you must understand how ISO, Aperture, and Shutter Speed work together. In the dark, your goal is to gather as much light as possible without sacrificing image quality.
Aperture (The F-Stop)
For most night scenes, you will want to keep your aperture wide open (e.g., f/2.8 or f/4) to let in maximum light. However, if you are shooting a city skyline and want a “starburst” effect on the streetlights, you might stop down to f/8 or f/11. Note that a smaller aperture (higher f-number) will require a much longer shutter speed.
Shutter Speed (Long Exposure)
This is the “secret sauce” of night photography. Long exposure photography involves keeping the shutter open for several seconds. This allows the sensor to soak up ambient light that the human eye might not even perceive. This is how you create light trails from moving vehicles or capture the details of a dark landscape.
ISO Settings and Digital Noise
In night photography, you often have to increase your ISO settings to make the sensor more sensitive to light. However, high ISO levels introduce “noise” or graininess. For beginners, it is best to start at ISO 400 or 800 and only go higher if your shutter speed is becoming too long to manage. Modern full-frame cameras can often handle ISO 3200 or 6400 with minimal quality loss.
3. Crucial Camera Settings for Success
Beyond the exposure triangle, several internal camera settings can make or break your night shoot. Ensure you check these before you start clicking.
- Shoot in RAW Format: Unlike JPEGs, RAW files contain all the data captured by the sensor. This is vital for night photography because it allows you to recover details from deep shadows and correct white balance issues during post-processing.
- Manual Focus: Autofocus often fails in the dark because it cannot find enough contrast to lock onto a subject. Switch your lens to Manual Focus (MF). Use your camera’s “Live View” mode, zoom in digitally on a bright light source (like a star or a street lamp), and adjust the focus ring until it is tack sharp.
- Long Exposure Noise Reduction: Most cameras have this feature. While it helps reduce grain, it doubles the time it takes to save the photo (e.g., a 30-second exposure will take another 30 seconds to process). Turn it off if you are in a hurry, but keep it on for the cleanest possible images.
4. Step-by-Step Guide to Taking Your First Night Photo
Follow this workflow to ensure you don’t miss any critical steps while standing in the dark:
- Find Your Composition: Arrive at your location during the “Blue Hour” (just after sunset) to scout the best angles while there is still a little light.
- Set Up Your Tripod: Ensure the legs are locked and the tripod is on stable ground. Remove your camera strap if it is windy, as it can act like a sail and cause vibration.
- Switch to Manual Mode (M): This gives you full control over all settings.
- Dial in Your Aperture: Start with a wide aperture like f/2.8 or f/4.
- Set Your ISO: Start at ISO 100 or 200 for the cleanest image if you are using a tripod.
- Adjust Shutter Speed: Start with 5 or 10 seconds and take a test shot. Adjust longer or shorter based on the result.
- Focus Manually: Use Live View to ensure your subject is sharp.
- Use a Timer or Remote: Trigger the shot and wait for the magic to happen.
5. Creative Night Photography Techniques
Once you have mastered the basics, you can experiment with these popular night photography tricks to add a professional flair to your portfolio.
Capturing Light Trails
To capture those beautiful red and white streaks of light from cars, find a bridge or a busy intersection. Set a long exposure of 15 to 30 seconds. The moving cars will disappear, leaving only the paths of their lights behind. This technique adds a sense of motion and energy to urban photos.
The Starburst Effect
Do you want streetlights to look like glowing stars? Use a narrow aperture, such as f/11 or f/16. The physical shape of the lens blades will diffract the light, creating “rays” emanating from the light source. This adds a clean, architectural look to city photography.
Light Painting
Since the shutter is open for a long time, you can “paint” the scene. Use a flashlight or even your phone’s screen to illuminate a foreground object (like an old tree or a rock) while the shutter is open. You become the lighting director of your own shot.
Astrophotography for Beginners
Capturing the stars requires a very dark location away from city lights. Use your widest lens, set your aperture as wide as it goes (f/2.8 is best), and set your ISO to 3200. Use the “Rule of 500” (500 divided by your focal length) to determine the maximum shutter speed before the stars start to blur into “star trails.”
6. Planning and Safety: The Non-Technical Side
Night photography requires more preparation than daytime shooting. You are often in isolated areas or busy city streets in the dark.
Check the Weather: A clear sky is essential for stars, but a few clouds can add drama to cityscapes. Avoid heavy rain unless you have professional weather-sealed gear.
Use Apps: Use apps like PhotoPills or The Photographer’s Ephemeris to track the moon’s position, the Milky Way, and the exact timing of the blue hour.
Safety First: Always tell someone where you are going. Bring a headlamp (preferably with a red light mode to preserve your night vision) and dress in layers, as temperatures drop significantly at night.
7. Post-Processing Your Night Images
The work doesn’t end when you click the shutter. Night photos almost always require some “digital development” in software like Adobe Lightroom or Capture One.
- Adjust White Balance: Streetlights often create a sickly yellow or orange tint. Adjust the temperature slider toward the blue side to create a more natural, “cool” night vibe.
- Shadow Recovery: Use the “Shadows” or “Blacks” slider to bring out details in the darkest parts of the image that the RAW file captured.
- De-haze and Contrast: Night air can sometimes look “milky” due to light pollution. The De-haze tool can help clear this up and make the lights pop.
- Noise Reduction: Even at low ISOs, long exposures can generate “hot pixels.” Use luminance and color noise reduction sparingly to clean up the image without losing sharpness.
8. Common Mistakes to Avoid
Even experienced photographers make mistakes when shooting in the dark. Watch out for these pitfalls:
1. Over-relying on the LCD Screen: In the dark, your camera’s screen looks much brighter than it actually is. An image that looks perfect on the screen might actually be underexposed. Always check your histogram; ensure the “mountain” of data isn’t crushed against the far left side.
2. Forgetting to Turn Off Image Stabilization (IS/VR): If your camera is on a tripod, turn off Image Stabilization. The system may try to compensate for vibrations that aren’t there, actually causing blur in a long exposure.
3. Not Checking Focus Frequently: It is easy to accidentally bump the focus ring in the dark. Check your sharpness every few shots by zooming in on the playback screen.
Conclusion
Night photography is a rewarding journey that teaches you the true fundamentals of light and exposure. By utilizing a tripod, mastering manual mode, and understanding the nuances of long exposure, you can capture breathtaking images that most people never get to see. Remember, the best night photography tips and tricks come from experience. Don’t be afraid to experiment, make mistakes, and spend a few hours under the stars. Your patience will eventually be rewarded with stunning, professional-grade nocturnal photographs.
Frequently Asked Questions (FAQ)
Q: What is the best camera for night photography?
A: While any camera with manual controls works, full-frame DSLRs or mirrorless cameras are preferred because their larger sensors handle high ISO noise much better than crop-sensor or smartphone cameras.
Q: Can I take night photos without a tripod?
A: It is very difficult. Without a tripod, you would need a very high ISO and a very fast shutter speed, resulting in dark, grainy, and often blurry images. If you must shoot handheld, use a lens with a very wide aperture (f/1.8) and look for something to lean against.
Q: Why are my night photos turning out yellow?
A: This is usually due to the “Auto White Balance” setting reacting to tungsten or sodium-vapor streetlights. Shooting in RAW allows you to fix this easily in post-processing, or you can manually set your white balance to “Tungsten” or “Incandescent” while shooting.
Q: How do I avoid “noise” in my night photos?
A: Keep your ISO as low as possible by using a tripod and longer shutter speeds. Additionally, ensure you are not underexposing your shots, as bringing up exposure in post-processing introduces more noise than getting it right in-camera.