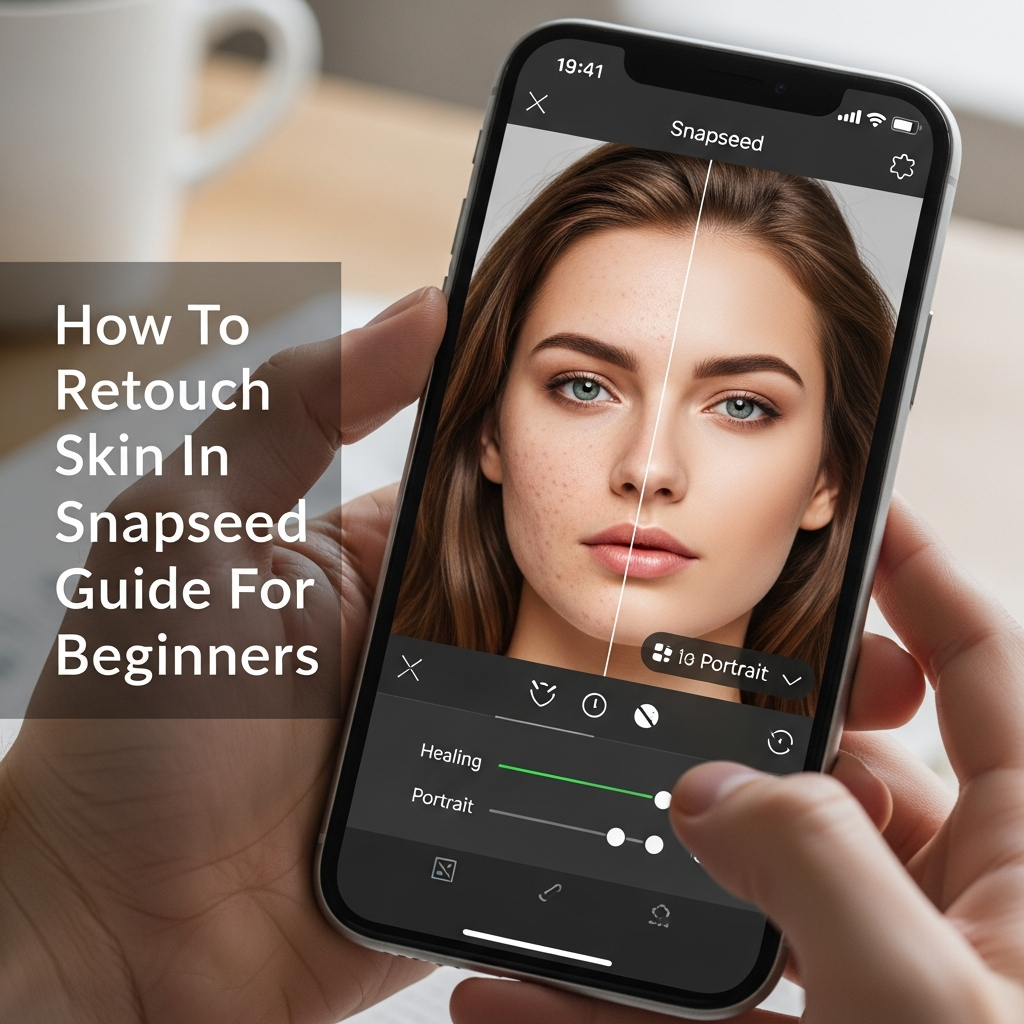
How To Retouch Skin In Snapseed: The Ultimate Guide For Beginners
In the era of high-resolution smartphone cameras, every pore and blemish can become center stage in a portrait. While natural beauty is always celebrated, there are times when you want your photos to look polished, professional, and gallery-ready. You do not need expensive desktop software like Adobe Photoshop to achieve high-end results. This how to retouch skin in Snapseed guide for beginners will walk you through the professional techniques used to enhance portraits directly on your mobile device.
Snapseed, developed by Google, is one of the most powerful free photo editing applications available today. Unlike many “beauty apps” that apply heavy-handed, artificial filters, Snapseed provides granular control over skin retouching, allowing you to maintain realistic skin texture while removing distractions. Whether you are preparing a headshot for LinkedIn or a close-up for Instagram, mastering these tools is essential for any aspiring mobile photographer.
Why Snapseed is the Best Choice for Mobile Skin Retouching
Before we dive into the technical steps, it is important to understand why professional editors often prefer Snapseed over automated beauty apps. Most “one-tap” editors use aggressive blurring algorithms that result in a “plastic” look, stripping away the natural character of the face. Snapseed offers a suite of precision tools—such as the Healing tool, Portrait tool, and Selective tool—that allow for non-destructive editing.
By using this guide for beginners, you will learn how to balance smoothing with texture retention. The goal of professional skin retouching is not to create a different person, but to present the best version of the subject by correcting temporary imperfections and enhancing lighting.
Essential Snapseed Tools for Skin Retouching
To follow this how to retouch skin in Snapseed guide, you must familiarize yourself with four primary tools within the app:
- Healing Tool: Used for removing specific blemishes, acne, or stray hairs.
- Portrait Tool: A specialized AI-driven tool that identifies faces to apply smoothing, eye clarity, and face spotlighting.
- Selective Tool: Allows you to adjust brightness, contrast, and saturation on specific areas of the skin.
- Brush Tool: Offers manual control over exposure and temperature for localized color correction.
Step 1: Removing Blemishes with the Healing Tool
The first step in any skin retouching workflow is “cleaning” the canvas. This involves removing temporary marks such as pimples, scars, or dust spots. The Healing tool in Snapseed is incredibly intuitive but requires a delicate touch.
How to use the Healing Tool effectively:
- Open your photo in Snapseed and navigate to Tools > Healing.
- Zoom in as much as possible on the area you wish to fix. This is a crucial tip for beginners; editing from a distance often leads to blurry patches.
- Tap gently on the blemish. Snapseed will automatically sample the surrounding pixels to cover the spot.
- For larger areas like a scratch, use small, short strokes rather than one long swipe.
- If the result looks unnatural, use the Undo button and try a smaller tap.
Expert Tip: Avoid using the healing tool on permanent features like beauty marks or moles unless specifically requested, as these are part of a person’s unique identity.
Step 2: Smoothing and Enhancing with the Portrait Tool
Once the blemishes are removed, the next phase of this how to retouch skin in Snapseed guide for beginners involves the Portrait tool. This tool is powered by facial recognition technology and is designed to simplify complex retouching tasks.
Understanding Portrait Presets
When you open the Portrait tool, you will see several presets at the bottom (Smooth 1, Smooth 2, etc.). While these are convenient, manual adjustment provides the best results for a professional finish.
The Three Pillars of the Portrait Tool:
- Face Spotlight: This mimics a professional reflector, brightening the face without overexposing the background. Set this between +10 and +30 for a subtle lift.
- Skin Smoothing: This is the “magic” slider. For a natural look, keep this between +20 and +50. Going higher than +70 often results in the dreaded “plastic” appearance.
- Eye Clarity: This sharpens the iris and whitens the sclera (the white part of the eye). A setting of +20 can make the subject look more alert and focused.
To adjust these, swipe vertically on the image to select the parameter, then swipe horizontally to increase or decrease the intensity.
Step 3: Correcting Skin Tones with the Selective Tool
One common issue in mobile photography is uneven skin tone—perhaps the forehead is darker than the cheeks, or there is redness around the nose. The Selective tool is your best friend for fixing these localized issues.
How to balance skin tones:
- Select Tools > Selective.
- Tap on an area of the skin that looks too dark or discolored.
- Pinch with two fingers to adjust the “radius” of the effect (indicated by a red circle).
- Swipe right to increase Brightness if the area is in shadow.
- If the skin looks too red or “burnt,” swipe down to Saturation and decrease it slightly.
- Structure: In skin retouching, decreasing the structure slightly in the Selective tool can further smooth out rough patches without losing overall image sharpness.
Step 4: Advanced Color Correction with the Brush Tool
For even more control, the Brush tool allows you to “paint” adjustments onto the skin. This is particularly useful for Dodge and Burn techniques—a staple of high-end fashion photography.
- Exposure Brush: Set it to +0.3 to gently brighten the areas under the eyes or the bridge of the nose.
- Temperature Brush: If the skin looks too “cool” (blue) or too “warm” (orange), use the temperature brush at a low setting to paint a more natural hue back into the face.
- Saturation Brush: Use this to subtly add color back to the lips or cheeks if they look washed out after smoothing.
Step 5: The “View Edits” Trick for Professional Precision
This is a secret technique often missed in a standard how to retouch skin in Snapseed guide for beginners. Sometimes, the Portrait tool smooths parts of the face you want to keep sharp, like the nostrils, the edges of the lips, or the eyebrows.
How to use the Masking feature:
- After applying the Portrait tool, look at the top right of the screen and tap the Edit Stack icon (the square with an arrow).
- Tap View Edits.
- Select the Portrait layer and tap the Brush icon in the middle.
- Now, you can paint the smoothing effect only on the cheeks, forehead, and chin, leaving the eyes, hair, and jewelry perfectly sharp.
- Tap the Checkmark to save.
This “masking” technique separates amateur edits from professional-grade mobile skin retouching.
Common Mistakes to Avoid in Skin Retouching
As a beginner, it is easy to get carried away. To ensure your photos look their best, avoid these common pitfalls:
- Over-Smoothing: If the skin looks like a single solid color with no pores, you have gone too far. Always toggle the “Before/After” button to check your progress.
- Ignoring the Neck and Hands: Often, people perfectly retouch the face but forget the neck. This creates a jarring contrast. Ensure your edits are consistent across all visible skin.
- Over-Whitening Eyes: Making the eyes too white looks supernatural and “alien.” Keep the Eye Clarity and whitening subtle.
- Losing Natural Shadows: Shadows give the face dimension. If you brighten the face too much, it will look flat and wider than it actually is.
Frequently Asked Questions (FAQ)
Can Snapseed remove wrinkles?
Yes, you can use a combination of the Healing tool for deep lines and the Skin Smoothing slider in the Portrait tool for fine lines. For the most natural look, reduce the opacity of your edits so the wrinkles are softened rather than completely erased.
Is Snapseed better than Lightroom for skin?
Snapseed is generally more user-friendly for beginners and offers the specialized “Portrait” AI tool for free. However, Lightroom Mobile offers better color grading and RAW file handling. For quick, high-quality skin retouching on the go, Snapseed is often the superior choice.
Does Snapseed lower photo quality?
By default, Snapseed may compress images. To maintain the highest quality, go to Settings > Quality and Format and select “100%” and “PNG” or “JPG 100%”. This ensures your retouched skin looks crisp and detailed.
How do I make skin glow in Snapseed?
To achieve a “glow,” use the Glamour Glow tool after you have finished your skin retouching. Choose a warm filter and keep the strength low (around +10 to +15) to add a soft, ethereal radiance to the skin.
Conclusion: Practice Makes Perfect
Learning how to retouch skin in Snapseed is a valuable skill that can dramatically improve your mobile photography. By following this guide for beginners, you now have the tools to remove blemishes, balance skin tones, and enhance facial features while maintaining a natural, realistic appearance.
The key to great retouching is subtlety. Start with small adjustments, always compare your work to the original image, and focus on enhancing what is already there. With practice, you will be able to turn a simple smartphone snap into a professional-looking portrait in just a few minutes. Happy editing!