How to Brighten Dark Photos: The Ultimate Step-by-Step Guide for Beginners
Capturing a perfect moment only to realize the resulting image is too dark can be incredibly frustrating. Whether it was a poorly lit birthday party, a sunset that didn’t translate well on camera, or a technical mishap with your settings, underexposed photos are a common challenge for every photographer.
The good news is that modern technology has made it easier than ever to rescue these images. In this comprehensive guide, you will learn exactly how to brighten dark photos using various tools, from simple smartphone apps to professional desktop software.
We will explore the fundamental principles of light, the technical side of exposure, and provide a detailed roadmap to ensure your photos look vibrant, clear, and professional without losing quality.
Understanding Why Your Photos Are Dark (The Science of Underexposure)
Before diving into the “how-to,” it is essential to understand why a photo turns out dark. In photography terms, this is called underexposure. This occurs when the camera sensor does not receive enough light to produce a clear image.
1. Common Causes of Dark Photos
- Low Light Environments: Indoor settings, nighttime, or heavily shaded areas often lack sufficient ambient light.
- Incorrect Camera Settings: A fast shutter speed, low ISO, or narrow aperture can restrict the amount of light entering the lens.
- Backlighting: If your subject is in front of a bright light source (like the sun), the camera might adjust for the background, leaving the subject in a silhouette.
- Small Sensor Limitations: Smartphones often struggle in low light compared to professional DSLRs due to smaller sensor sizes.
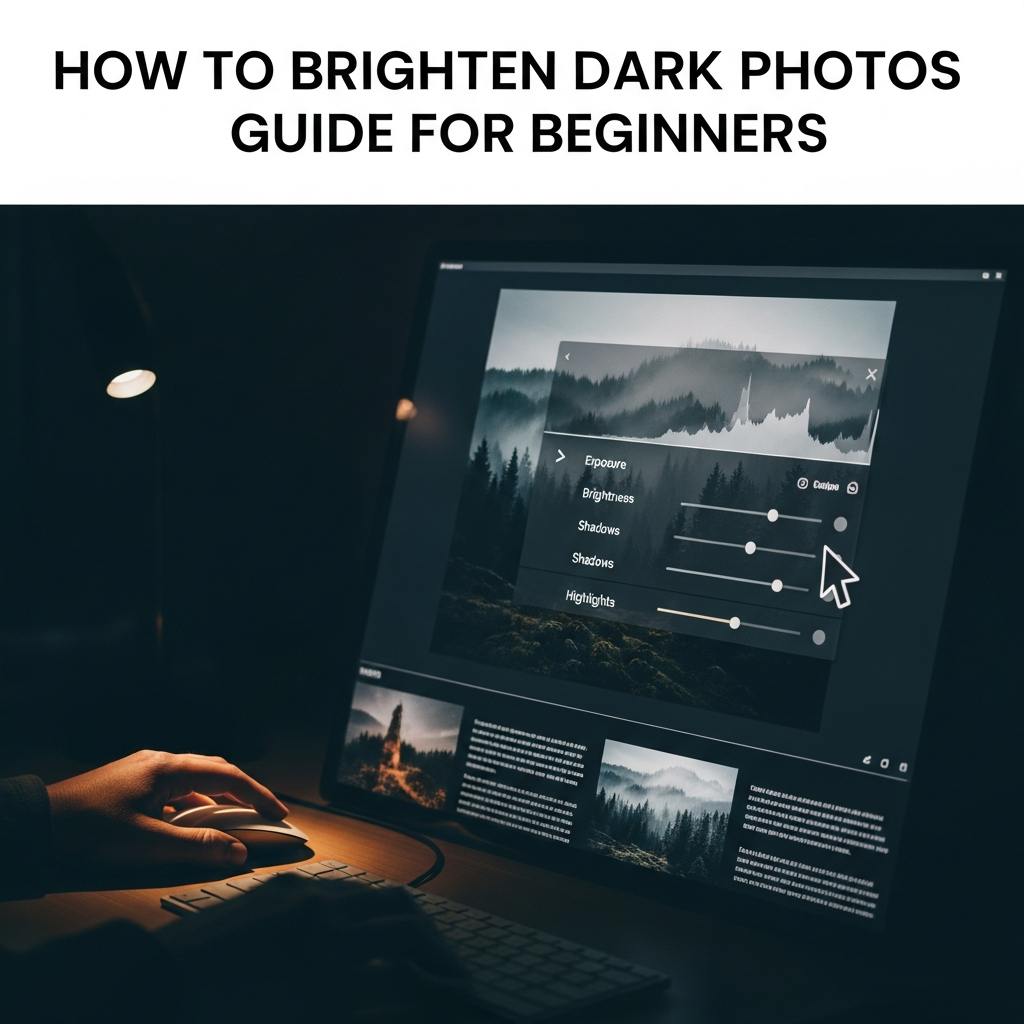
2. The Role of the Histogram
To fix a dark photo effectively, you must learn to read a histogram. A histogram is a graphical representation of the tonal values in your image. If the “mountain” in the graph is skewed heavily to the left, your photo is underexposed. Your goal during editing is to shift those values toward the center and the right.
Essential Tools You Need to Brighten Photos
Depending on your device and skill level, you have several options for brightening your images. As a beginner, you don’t need to spend a fortune on software immediately.
1. Mobile Applications (Quick & Easy)
If you primarily take photos on your phone, these apps are indispensable:
- Snapseed (Free): A powerful, user-friendly editor by Google that offers professional-grade tools.
- Lightroom Mobile (Freemium): The gold standard for photo editing, offering precise control over light and color.
- Instagram/Built-in Editors: Good for very basic adjustments but lack advanced “shadow recovery” features.
2. Desktop Software (Professional Precision)
For those who want the highest quality results, desktop software provides more “headroom” for editing:
- Adobe Lightroom Classic: Best for batch editing and non-destructive adjustments.
- Adobe Photoshop: Ideal for localized brightening and complex retouching.
- GIMP (Free): A powerful open-source alternative to Photoshop.
Step-by-Step Guide: How to Brighten Dark Photos on Mobile
Since most beginners start with their smartphones, let’s walk through the process of brightening a dark photo using Snapseed, as it is free and available for both iOS and Android.
Step 1: Open Your Image and Access “Tune Image”
Launch Snapseed and tap anywhere to open your photo. Go to Tools and select Tune Image. This is the primary dashboard for light adjustments.
Step 2: Adjust the Brightness Slider
Swipe up or down on the screen to select Brightness. Swipe to the right to increase the overall light. Pro Tip: Do not overdo this, as it can make the photo look “washed out.”
Step 3: Lift the Shadows
This is the secret to a natural-looking bright photo. Select the Shadows tool. By increasing the shadows, you reveal details in the darkest parts of the image without overexposing the already bright areas (the highlights).
Step 4: Add Contrast and Ambiance
Brightening a photo often makes it look flat. Increase the Contrast slightly to bring back depth. Then, use the Ambiance tool to balance the exposure and saturation across the entire frame.
Step 5: Use the “Selective” Tool for Specific Areas
If only a person’s face is dark while the background is fine, use the Selective tool. Tap on the dark area, and swipe right to brighten only that specific spot. This prevents the rest of the photo from becoming too bright.
Advanced Techniques: Brightening Photos on Desktop
If you are using Adobe Lightroom or a similar RAW editor, you have much more control over the pixels. Follow this workflow for professional results:
1. Adjust the Exposure Slider
The Exposure slider acts as a global adjustment. Increase it until the mid-tones of your subject look correct. Watch your histogram to ensure you aren’t “clipping” the whites (turning them into pure, detail-less white).
2. Master the Highlights and Shadows
To fix a dark photo without ruining the sky or bright lights:
- Shadows: Drag this to the right (+40 to +70) to reveal hidden details.
- Blacks: Adjust this slightly to ensure the photo still has “true black” points, preventing a faded look.
- Highlights: If brightening the exposure made the sky too white, drag the Highlights to the left to recover detail.
3. Utilizing Curves (Tone Curve)
The Tone Curve is a powerful tool for beginners to graduate to. By clicking the middle of the diagonal line and dragging it upward, you brighten the mid-tones. This offers a more natural transition than the standard exposure slider.
Pro Tips to Brighten Photos Without Losing Quality
Brightening an image isn’t just about making it lighter; it’s about maintaining image integrity. Here are expert tips to keep in mind:
1. Beware of Digital Noise (Grain)
When you brighten a very dark photo, you will likely see “grain” or “noise” appearing in the shadows. This happens because the sensor didn’t have enough data in those areas. To fix this, use Noise Reduction tools found in most editing apps. Be careful—too much noise reduction can make your photo look like a plastic painting.
2. The Importance of RAW vs. JPEG
If your camera or phone allows it, always shoot in RAW format. A JPEG file is compressed and “bakes in” the darkness. A RAW file contains all the data captured by the sensor, allowing you to brighten a photo significantly more without the image falling apart.
3. Watch Your White Balance
Dark photos often have a “cool” or blue tint. When you brighten them, this tint becomes more obvious. Adjust the Temperature slider toward the yellow/warm side to make the lighting look more natural and inviting.
How to Prevent Dark Photos in the Future
While editing is a lifesaver, getting it right “in-camera” is always better. Here is how you can avoid underexposure in your future photography sessions:
1. Master the Exposure Triangle
If you are using a camera with manual settings, balance these three elements:
- Aperture: Use a lower f-stop (like f/1.8 or f/2.8) to let in more light.
- Shutter Speed: Use a slower shutter speed to give the sensor more time to collect light (use a tripod for speeds slower than 1/60s).
- ISO: Increase the ISO in dark environments, but be mindful of the noise it creates.
2. Use Exposure Compensation
On most smartphones, you can tap the screen and slide your finger up (sun icon) to manually increase the exposure before taking the shot. This is the easiest way for beginners to ensure their photos aren’t dark from the start.
3. Seek Better Light Sources
Always look for the light. Position your subject so the light is hitting their face rather than their back. Even a small shift in position can make a massive difference in how much light reaches the sensor.
Frequently Asked Questions (FAQ)
Can I brighten a photo that is completely black?
If a photo is 100% black with no data, it cannot be rescued. However, if there is even a tiny amount of detail visible, shooting in RAW and using professional software can often reveal a surprising amount of information.
What is the best free app to brighten dark photos?
Snapseed is widely considered the best free app for this purpose because of its “Shadows” and “Selective” tools, which provide more control than standard filters.
Does brightening a photo reduce its resolution?
Brightening a photo does not change its resolution (pixel count), but it can reduce the perceived quality by introducing digital noise and reducing sharpness in the dark areas.
Is it better to have a photo too dark or too bright?
In digital photography, it is generally better to have a photo slightly too dark (underexposed) than too bright (overexposed). You can usually recover details from shadows, but once highlights are “blown out” to pure white, that data is gone forever.
Conclusion
Learning how to brighten dark photos is an essential skill in the digital age. By understanding the balance between exposure, shadows, and contrast, you can transform a discarded shot into a masterpiece. Remember to start with global adjustments like exposure, then move to specific adjustments like shadows to maintain a natural look.
Whether you are using a smartphone or a high-end PC, the key is moderation. Avoid pushing the sliders so far that you introduce excessive noise. With practice, you will develop an eye for light and your photos will never stay in the dark again.