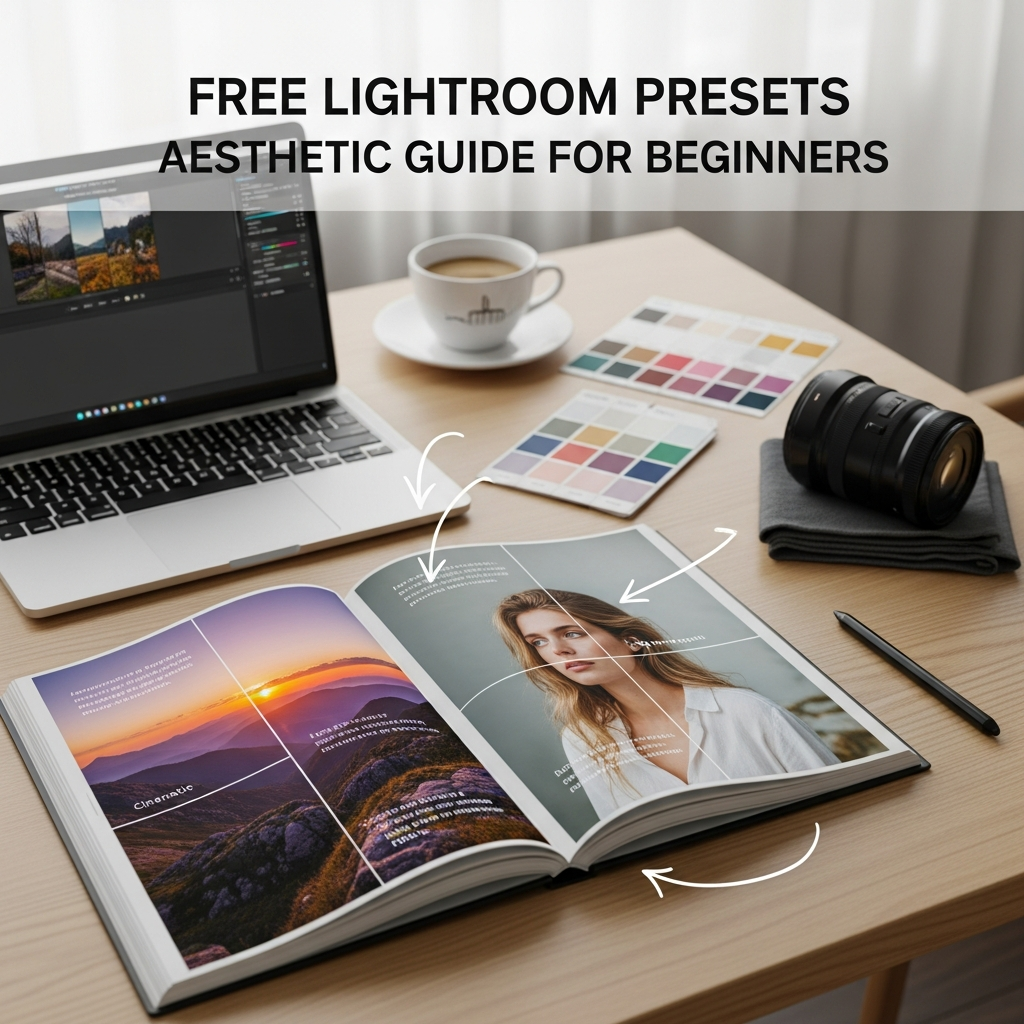
Free Lightroom Presets Aesthetic: The Ultimate Guide for Beginners
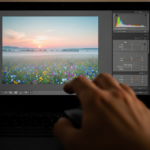
In the modern digital landscape, visual storytelling has become the universal language of social media and professional branding. Whether you are an aspiring influencer, a hobbyist photographer, or a small business owner, the quality of your imagery dictates your online impact. However, professional photo editing can often feel like a daunting task, requiring years of experience and a deep understanding of complex software.
This is where Lightroom presets enter the frame. Specifically, finding high-quality free Lightroom presets aesthetic options can bridge the gap between a raw smartphone snapshot and a professional-grade masterpiece. This comprehensive guide will walk you through everything you need to know about utilizing presets to elevate your visual content, ensuring your feed remains consistent, professional, and visually stunning.
What Are Lightroom Presets?
Before diving into the technicalities, it is essential to understand what a preset actually is. In the simplest terms, a Lightroom preset is a configuration of settings designed to achieve a specific look or “aesthetic” for a photo with just one click.
When you apply a preset, the software automatically adjusts various parameters including:
- Exposure and Contrast: The brightness and dynamic range of the image.
- Color Grading: The specific hues, saturation, and luminance of individual colors.
- Tone Curves: The balance between highlights, mid-tones, and shadows.
- Detail and Texture: Sharpening, noise reduction, and artificial grain.
Think of a preset as a “recipe” for your photo. Instead of manually adding salt, pepper, and spices every time you cook (or in this case, edit), you use a pre-mixed seasoning that guarantees a consistent flavor—or visual style—every time.
Why Every Beginner Needs Aesthetic Lightroom Presets
If you are just starting your journey into photo editing, presets are not just a shortcut; they are a powerful educational tool. Here is why you should consider integrating them into your workflow:
1. Unparalleled Time Efficiency
Editing a single photo manually can take anywhere from five to thirty minutes. If you have a batch of fifty photos from a weekend trip, manual editing becomes a full-time job. Presets allow you to apply a professional look to hundreds of photos simultaneously using the “Sync” feature in Adobe Lightroom.
2. Achieving Visual Consistency
One of the hallmarks of a professional Instagram feed or portfolio is a cohesive look. By using the same aesthetic presets, you ensure that all your images share a similar color palette and mood. This consistency is vital for building a recognizable brand identity.
3. A Learning Bridge
For beginners, the “Develop” module in Lightroom can be overwhelming. By applying a preset and then looking at the sliders to see what changed, you can learn how professional editors manipulate light and color. It is like having a professional mentor showing you their secret settings.
Understanding File Formats: DNG vs. XMP
When you search for free Lightroom presets aesthetic, you will likely encounter two different file types. Understanding the difference is crucial for a successful installation.
.DNG Files (Mobile Focused)
DNG stands for Digital Negative. In the context of presets, these are essentially image files that “carry” the preset settings within them. These are primarily used for Lightroom Mobile. You “copy” the settings from the DNG image and “paste” them onto your own photos.
.XMP Files (Desktop Focused)
XMP is the modern standard for Lightroom Classic and Lightroom CC on desktop. These are small metadata files that contain the instructions for the software. They are easier to organize into folders within the desktop application.
Popular Aesthetic Categories for Beginners
Not all presets are created equal. Depending on the “vibe” you want to achieve, you should look for specific categories of free aesthetic presets:
1. Bright and Airy
Perfect for lifestyle, wedding, and interior photography. This aesthetic focuses on high exposure, desaturated warm tones, and soft shadows. It creates a clean, dreamlike quality that is highly popular on platforms like Pinterest.
2. Dark and Moody
Often used for cinematic portraits or dramatic landscapes. This style emphasizes deep shadows, high contrast, and “crushed” blacks. It creates a sense of mystery and sophistication.
3. Vintage and Retro
If you love the look of 35mm film, vintage presets are your best friend. They often add artificial grain, slight light leaks, and shifted color profiles (like greenish shadows or yellowish highlights) to mimic old Kodak or Fujifilm stocks.
4. Minimalist / Clean
These presets focus on color correction rather than heavy stylization. They enhance the natural beauty of the photo by balancing whites and ensuring skin tones look realistic but polished.
How to Install Free Lightroom Presets: A Step-by-Step Guide
The installation process varies depending on whether you are using a mobile device or a computer. Follow these steps carefully.
For Lightroom Mobile (iOS and Android)
- Download the DNG Files: Usually, these come in a .ZIP folder. Unzip them on your phone.
- Import to Lightroom: Open the Lightroom app and “Add Photos.” Select the DNG files you just downloaded.
- Open the DNG Image: It will look like a normal photo, often with the name of the preset written on it.
- Create Preset: Tap the three dots (…) in the top right corner and select “Create Preset.”
- Name and Save: Give your preset a name (e.g., “Summer Glow”) and save it to a Preset Group.
- Apply to Your Photos: Open any of your own photos, scroll the bottom toolbar to “Presets,” find your saved folder, and tap to apply.
For Lightroom Desktop (Classic and CC)
- Open Lightroom: Navigate to the “Develop” module.
- Open Presets Panel: On the left-hand side, find the “Presets” tab and click the “+” icon.
- Import Presets: Select “Import Presets” and locate the .XMP files you downloaded.
- Instant Access: The presets will now appear in your library, categorized by the folder name they were imported from.
Expert Tips for Customizing Your Presets
A common mistake beginners make is thinking a preset is a “one-and-done” solution. Because every photo is taken under different lighting conditions, a preset will rarely look perfect immediately. You must learn to “tweak” the settings.
Adjust the Exposure First
After applying a preset, the first thing you should check is the brightness. If your original photo was underexposed, the preset might make it look too dark. Use the Exposure slider to find the sweet spot.
Fix the White Balance
If your photo looks too orange or too blue after applying a preset, adjust the Temp (Temperature) and Tint sliders. This ensures that whites look white and skin tones look natural.
The Power of the “Amount” Slider
Modern versions of Lightroom include an “Amount” slider for presets. This allows you to dial back the intensity of the preset. If the “Moody” look is too aggressive, simply slide the intensity down to 50%.
Managing Skin Tones with HSL
If a preset makes people look “Oompa-Loompa” orange, go to the HSL (Hue, Saturation, Luminance) panel. Select Orange and decrease the saturation or increase the luminance to brighten and smoothen the skin.
Where to Find High-Quality Free Presets Safely
The internet is full of “free” offers, but you must be careful about what you download. To find the best free Lightroom presets aesthetic, look for:
- Professional Photography Blogs: Many pros offer a “starter pack” of free presets to showcase their style.
- Adobe Exchange: Adobe’s own marketplace often has free assets for creative cloud members.
- Behance and Dribbble: These platforms are goldmines for high-quality, designer-made presets.
- Trusted Preset Stores: Sites like 123Presets or Preset Love often have a “Freebies” section that is updated regularly.
Warning: Avoid websites that require you to install suspicious software or browser extensions to access the download link. Stick to direct DNG or XMP downloads.
Common Mistakes to Avoid When Using Presets
To ensure your photos look professional and not “over-edited,” keep these common pitfalls in mind:
- Over-Saturating: Too much color can make a photo look cheap. Sometimes, desaturating a preset slightly makes it look more “high-end.”
- Ignoring the Background: A preset might make your subject look great but turn the sky an unnatural shade of neon blue. Use masking tools to edit the subject and background separately if needed.
- Losing Detail in Shadows: “Crushing the blacks” is a popular aesthetic, but be careful not to lose all the detail in the dark areas of your photo, as this can make the image look muddy.
- Inconsistent Application: Don’t use a “Vintage” preset on one photo and a “Bright & Airy” on the next in the same gallery. Stick to one aesthetic per project.
Frequently Asked Questions (FAQ)
Are free Lightroom presets safe to use?
Yes, as long as you download them from reputable sources. Always ensure you are downloading standard file formats like .DNG or .XMP and never executable (.exe) files.
Do I need a paid Lightroom subscription to use presets?
No. You can use the Lightroom Mobile app for free on iOS and Android. While some advanced features require a subscription, the basic “Presets” and “Develop” tools are available to free users.
Can I use desktop presets on my mobile phone?
Yes, but they must be synced through the Adobe Creative Cloud. If you are a free user, you must manually download the DNG version of the preset to use it on mobile.
Why does the preset look different on my photo than in the preview?
Previews are usually shown on professionally shot RAW images with perfect lighting. Your photo might have different lighting, camera settings, or white balance. Minor adjustments to exposure and temperature are almost always necessary.
How do I delete a preset I don’t like?
Right-click the preset (Desktop) or long-press the preset name (Mobile) and select “Delete.” This helps keep your workspace organized and efficient.
Conclusion: Developing Your Unique Signature
Using free Lightroom presets aesthetic is an incredible way to jumpstart your creative journey. They remove the technical barriers that often discourage beginners from exploring the world of photography.
However, remember that a preset is a starting point, not the destination. As you become more comfortable with the sliders and settings, challenge yourself to modify them. Eventually, you will find yourself creating your own presets that reflect your unique artistic vision.
Start downloading, start experimenting, and watch as your photography transforms from ordinary snapshots into a curated visual experience. The world of professional editing is now at your fingertips—one click at a time.