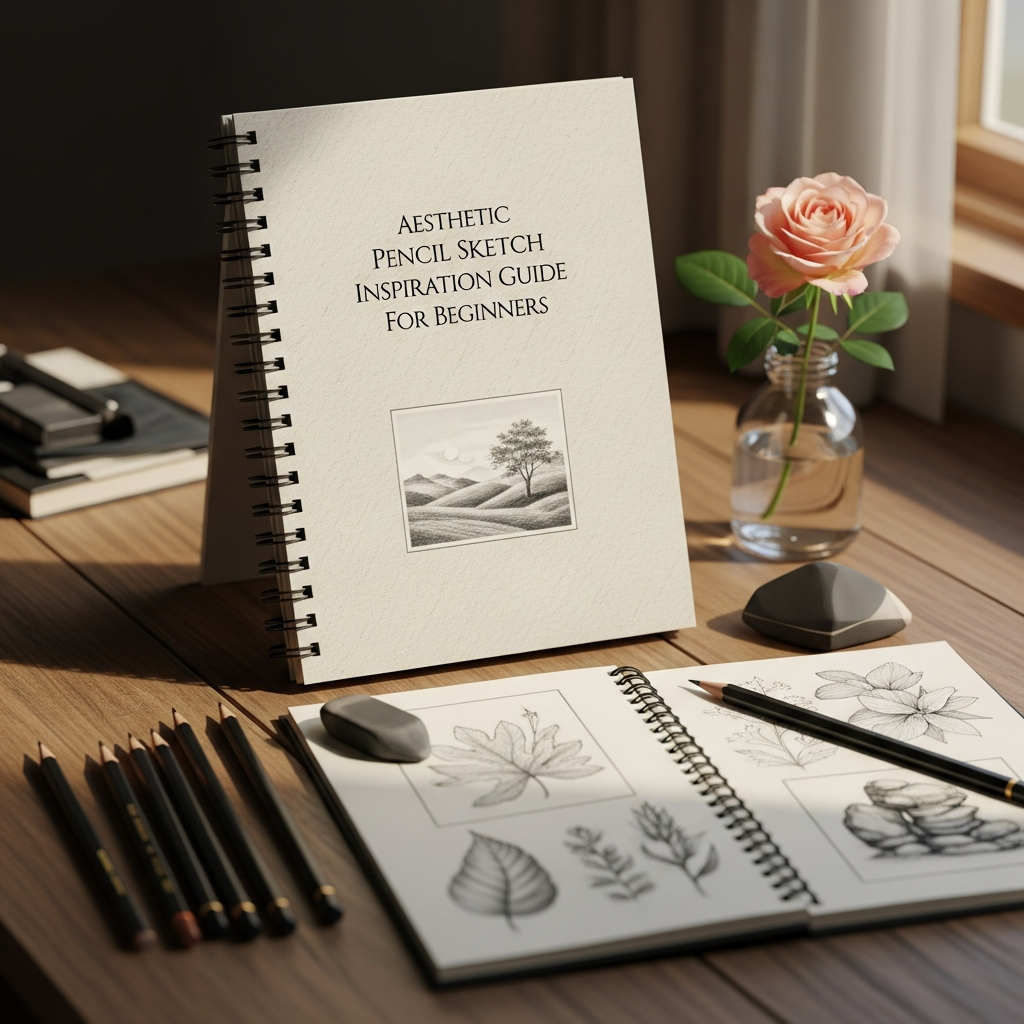
Aesthetic Pencil Sketch Inspiration Guide for Beginners: Mastering the Art of Graphite
The world of art often feels intimidating to those standing on the outside looking in. However, one of the most accessible and profoundly beautiful mediums available to any aspiring artist is the humble pencil. Aesthetic pencil sketching is more than just drawing; it is the act of capturing a mood, a shadow, or a delicate silhouette using nothing but varying grades of graphite and a piece of paper.
In this comprehensive guide, we will explore the depths of aesthetic pencil sketch inspiration, providing you with the technical knowledge, creative prompts, and step-by-step instructions needed to transform a blank page into a masterpiece. Whether you are drawn to minimalist line art or hyper-realistic portraits, this pillar content is designed to be your ultimate roadmap.
Understanding the “Aesthetic” in Pencil Sketching
Before we dive into the technicalities, we must define what makes a sketch “aesthetic.” In the modern digital age, the term often refers to a specific visual style that is pleasing to the eye, often characterized by minimalism, soft lighting, and emotive subjects.
An aesthetic pencil sketch usually focuses on:
- Simplicity: Using fewer lines to convey complex emotions.
- Contrast: The dramatic interplay between deep blacks and bright highlights.
- Texture: The tactile feel of the graphite on the grain of the paper.
- Atmosphere: Creating a sense of nostalgia, peace, or melancholy.
Essential Tools: Building Your Artistic Toolkit
To achieve professional results, you must understand your tools. You do not need the most expensive set in the world, but you do need the right variety.
1. Graphite Pencil Grades
Pencils are categorized by their hardness (H) and blackness (B).
- H Series (H to 9H): These are hard pencils that produce light, fine lines. They are perfect for initial outlines and technical details.
- B Series (B to 9B): These are soft pencils that produce dark, rich tones. A 4B or 6B pencil is essential for creating deep shadows and adding depth to your aesthetic sketches.
- HB and F: These are the middle-ground pencils, ideal for general writing and mid-tone shading.
2. The Right Paper (The Support)
The “tooth” or texture of your paper significantly affects your drawing.
- Smooth Paper: Best for fine details and sharp lines.
- Rough/Textured Paper: Ideal for expressive shading and capturing realistic textures.
3. Erasers and Blending Tools
- Kneaded Eraser: This is a must-have. You can mold it into any shape to “lift” graphite and create delicate highlights.
- Blending Stumps (Tortillons): Used to smooth out graphite for a seamless, smoky look.
- Precision Erasers: For cleaning up tiny edges.
Foundational Shading Techniques for Beginners
The secret to a stunning pencil sketch lies not in the lines, but in the shading. Mastering these techniques will elevate your work from flat to three-dimensional.
Hatching and Cross-Hatching
Hatching involves drawing parallel lines to create tone. Cross-hatching adds a second layer of lines intersecting the first. The closer the lines, the darker the area. This technique is excellent for creating architectural sketches or adding a vintage feel.
Stippling
This involves creating an image using small dots. While time-consuming, it allows for incredible control over gradients and is a staple in aesthetic minimalist art.
Scumbling (The “Brillo Pad” Technique)
Scumbling involves moving the pencil in small, circular motions. It is the best way to create realistic textures such as skin, clouds, or soft fabrics.
Blending
By using a blending stump or even a soft tissue, you can smear the graphite to create a perfectly smooth transition between light and dark. This is essential for “soft aesthetic” drawings.
Sources of Aesthetic Pencil Sketch Inspiration
Finding your style starts with finding what inspires you. Here are several themes that are currently trending in the world of beginner sketching:
1. Botanical and Floral Illustrations
Flowers are a classic subject. Focus on the delicate curve of a petal or the intricate veins of a leaf. Botanical sketches allow you to practice organic shapes and soft shading.
2. Minimalist Line Art
Sometimes, less is more. Try drawing a face or a body using a single, continuous line. This emphasizes form and movement over detail, creating a very modern aesthetic.
3. Eyes and Portraits
The eyes are the “windows to the soul.” Many beginners find inspiration in drawing a single, highly detailed eye. It allows you to practice reflections, skin texture, and the fine details of eyelashes.
4. Celestial and Dreamy Themes
Combine realistic elements with surrealism. Think of a hand holding a moon, or clouds pouring out of a coffee cup. These creative prompts help push your imagination.
5. Architectural Silhouettes
The sharp angles of buildings contrasted against a soft sunset sky provide a great exercise in perspective and high-contrast shading.
Step-by-Step Guide: Creating Your First Aesthetic Sketch
Follow this process to create a balanced and visually appealing drawing.
Step 1: Set the Mood and Composition
Before touching the paper, decide on your “composition.” Use the Rule of Thirds: imagine your paper is divided into a 3×3 grid. Place your main subject at one of the intersections of these lines to create a more dynamic and “aesthetic” look.
Step 2: The Light Sketch (The Skeleton)
Use a hard pencil (2H or H) to lightly map out the basic shapes. Do not press hard; these lines should be barely visible and easy to erase. Focus on proportions rather than details at this stage.
Step 3: Defining the Shapes
Once you are happy with the layout, use an HB pencil to refine the outlines. Clear up any “hairy” lines—aesthetic art often relies on clean, confident strokes.
Step 4: Establishing the Light Source
Decide where the light is coming from. Mark it with a small ‘x’ outside your drawing area. This will dictate where your highlights, mid-tones, and shadows will fall. Consistency in lighting is what creates realistic textures.
Step 5: Layering the Shades
Start with your mid-tones using a B or 2B pencil. Gradually move to the darker areas with a 4B or 6B. Always build layers slowly. It is much easier to add graphite than it is to remove it.
Step 6: Adding the “Aesthetic” Details
Use your kneaded eraser to “pop” the highlights. Add tiny details like stray hairs, reflections in the eyes, or the texture of a sweater.
Step 7: Final Cleanup and Fixative
Check for any smudges. Use a clean eraser to brighten the white spaces of the paper. If you want to preserve your work, spray it with a professional fixative to prevent the graphite from smearing over time.
Expert Tips for Elevating Your Art
To move from a beginner to an intermediate level, keep these professional tips in mind:
- Avoid the “Smudge Habit”: While blending is a technique, over-blending can make a drawing look muddy and “dirty.” Leave some areas of raw pencil strokes to maintain clarity.
- Use a “Slip Sheet”: Place a clean piece of paper under your hand while you draw. This prevents the oils from your skin from smudging your work and affecting the paper’s texture.
- Observe Real Life: Instead of just drawing from photos, try drawing objects in front of you. This improves your spatial awareness and understanding of how light wraps around 3D objects.
- Practice “Value Scales”: Regularly draw a long rectangle and divide it into squares. Shade them from the absolute darkest black your pencil can produce to the white of the paper. This trains your eye to see subtle shifts in tone.
Overcoming Creative Block: 10 Aesthetic Sketching Prompts
If you find yourself staring at a blank page, try these specific aesthetic pencil sketch ideas:
- A pair of vintage spectacles resting on an open book.
- A single wildflower growing out of a crack in the pavement.
- The silhouette of a person looking out of a rainy window.
- A close-up of hands intertwined.
- A minimalist mountain range under a crescent moon.
- An antique key with intricate metalwork.
- A steaming cup of tea with “smoke” forming a shape.
- A butterfly landing on a human finger.
- A single feather with detailed barbs.
- A lightbulb with a small forest growing inside it.
Common Mistakes Beginners Should Avoid
- Using the Wrong Eraser: Standard pink erasers are too abrasive and can damage the paper fibers, making it impossible to shade smoothly later.
- Afraid of the Dark: Many beginners are hesitant to use dark pencils (6B-9B). Without deep blacks, your drawing will look flat and washed out. Don’t be afraid of contrast!
- Rushing the Process: Aesthetic art is about patience. Take your time with the layering process.
- Ignoring the Background: Even a simple shadow or a light gradient in the background can make your subject “pop” and feel more grounded.
Conclusion: Your Journey into Pencil Art
Pencil sketching is a meditative and rewarding journey. By seeking out aesthetic pencil sketch inspiration and consistently practicing your shading techniques, you will find your unique artistic voice. Remember that every master was once a beginner who refused to give up.
Keep your sketchbook with you, observe the world through the lens of light and shadow, and most importantly, enjoy the process of creation. Your next great sketch is just a few pencil strokes away.
Frequently Asked Questions (FAQ)
1. What pencil is best for aesthetic sketching?
For beginners, a set containing 2H, HB, 2B, 4B, and 6B is ideal. The 2B and 4B are generally the most used for creating the soft, aesthetic look.
2. How do I make my pencil sketches look “clean”?
Use a slip sheet under your hand to prevent smudging, and use a precision eraser to keep your edges sharp. Avoid over-blending with your fingers, as the oils can cause permanent stains.
3. Can I learn to sketch if I have no “natural talent”?
Absolutely. Sketching is a mechanical skill that involves hand-eye coordination and observation. Like any other skill, it can be learned and mastered through consistent practice.
4. How long does it take to complete an aesthetic sketch?
A simple minimalist sketch might take 15–30 minutes, while a highly detailed portrait with realistic textures can take anywhere from 5 to 20 hours.
5. What is the best paper for pencil drawing?
Look for “Drawing Paper” or “Sketch Paper” with a weight of at least 100gsm. If you like smooth finishes, look for “Bristol Board” (Smooth). If you like texture, look for “Cold Pressed” paper.