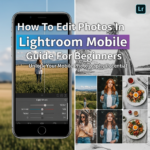
Free Lightroom Presets Aesthetic Guide For Beginners: The Ultimate Manual to Professional Editing
In the modern era of digital storytelling, visual consistency is the key to building a compelling brand or a stunning social media feed. However, professional photo editing can often feel like an intimidating mountain to climb for those just starting. This is where Lightroom presets come into play. They are the secret weapons used by influencers, professional photographers, and hobbyists alike to achieve a high-end look with just a single click.
If you have ever wondered how your favorite creators maintain a consistent “vibe” or “aesthetic” across their photos, the answer almost always involves presets. In this comprehensive Free Lightroom Presets Aesthetic Guide for Beginners, we will walk you through everything you need to know—from understanding what presets are to installing them and fine-tuning them for perfection.
What Are Lightroom Presets and Why Should You Use Them?
Before diving into the technicalities, it is essential to understand what a Lightroom preset actually is. Essentially, a preset is a configuration of settings designed to achieve a specific look for a photo. It records adjustments made to exposure, contrast, color, saturation, and tone curves, allowing you to apply those exact settings to another image instantly.
For a beginner, using free Lightroom presets offers several distinct advantages:
- Time Efficiency: Instead of manually adjusting dozens of sliders for every single photo, you can apply a look in seconds.
- Visual Consistency: Presets help you maintain a uniform style, which is crucial for Instagram grids or professional portfolios.
- Learning Tool: By applying a preset and looking at the slider adjustments, you can learn how professional editors achieve specific moods.
- Cost-Effective: While there are many premium packs available, high-quality free aesthetic Lightroom presets allow you to experiment without financial commitment.
Understanding Preset File Formats: DNG vs. XMP
One of the most confusing aspects for beginners is the file format. Depending on whether you are using Lightroom Mobile or Lightroom Desktop, you will encounter different file types.
1. DNG Files (Mobile Presets)
DNG stands for Digital Negative. On mobile devices (iPhone and Android), presets are typically shared as DNG images. These are special image files that “carry” the preset data within them. To use them, you must import the DNG file into the Lightroom app and then “Create Preset” from its settings.
2. XMP Files (Desktop Presets)
Modern versions of Lightroom Classic and Lightroom (CC) on desktop use .XMP files. These are small data files that contain the editing instructions. Older versions of Lightroom used .lrtemplate files, but Adobe has since transitioned primarily to XMP.
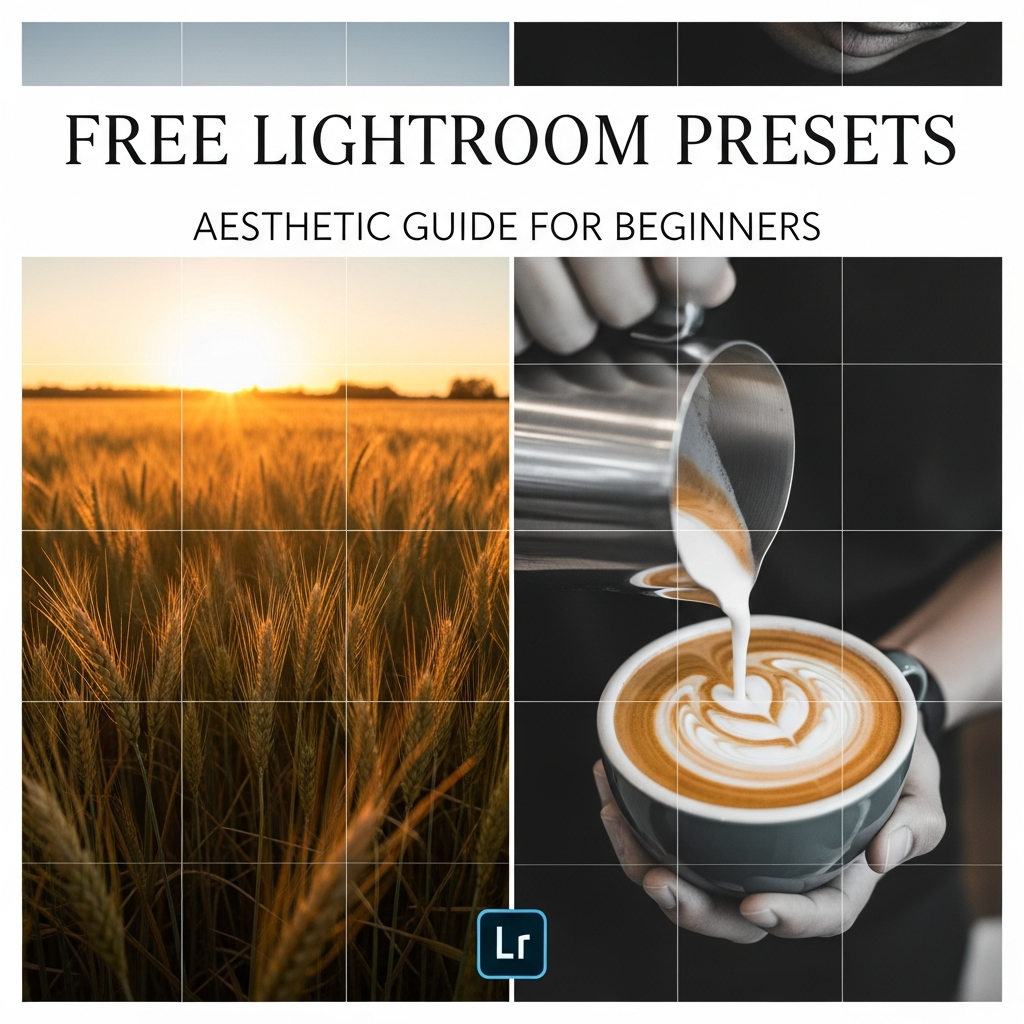
Top Aesthetic Styles You Can Achieve with Free Presets
The term “aesthetic” is broad, but in the world of photo editing, it usually refers to a specific color palette or mood. Here are the most popular styles you can explore using free aesthetic Lightroom presets:
The “Light and Airy” Aesthetic
Perfect for weddings, lifestyle photography, and bright interiors. This style focuses on high exposure, desaturated warm tones, and soft shadows. It creates a clean, dreamy, and sophisticated look that is very popular on Pinterest.
The “Dark and Moody” Aesthetic
Often used for food photography, urban landscapes, or cinematic portraits. This aesthetic involves crushing the blacks, increasing contrast, and emphasizing deep greens or blues. It adds a sense of mystery and drama to your images.
The “Teal and Orange” Look
A staple in travel and cinematic editing. This style plays on color theory by making skin tones pop (orange) while cooling down the sky and shadows (teal). It is highly effective for beach photos and sunset shots.
The “Vintage Film” Aesthetic
If you love the nostalgia of 35mm film, this is for you. These presets often add grain, fade the blacks (matte effect), and shift colors toward yellow or magenta to mimic old Kodak or Fujifilm stocks.
How to Find High-Quality Free Aesthetic Lightroom Presets
While a quick Google search will yield millions of results, not all free presets are created equal. Some can be poorly optimized, leading to “blown out” highlights or unnatural skin tones. When searching for free Lightroom presets for beginners, keep the following tips in mind:
- Check for “Before & After” Examples: Reputable creators always show how the preset looks on various types of photos (indoor, outdoor, different skin tones).
- Look for Mobile/Desktop Compatibility: Ensure the download includes the format you need (DNG for mobile, XMP for desktop).
- Read Reviews or Comments: If you are downloading from a blog or a marketplace, check user feedback to ensure the files are safe and functional.
- Avoid “Bulk” Junk Packs: Sometimes, sites offer “1000 Free Presets,” but 90% of them are unusable. It is better to find a curated pack of 5-10 high-quality presets.
Step-by-Step Guide: How to Install Free Lightroom Presets
The installation process varies depending on your device. Follow these steps to get started.
Installing Presets on Lightroom Mobile (iOS/Android)
Since most beginners start with the free Lightroom mobile app, here is the DNG method:
- Step 1: Download the DNG file to your phone’s storage or cloud drive.
- Step 2: Open the Lightroom app and tap the “Add Photos” icon.
- Step 3: Import the DNG file. It will look like a normal photo but with a “RAW” or “DNG” label.
- Step 4: Tap on the imported DNG photo to open it.
- Step 5: Tap the three dots (…) in the top right corner and select “Create Preset.”
- Step 6: Name your preset (e.g., “Aesthetic Summer”) and save it to a Preset Group.
Installing Presets on Lightroom Desktop (CC and Classic)
For the desktop version, the process is even simpler:
- Step 1: Download and unzip the XMP files.
- Step 2: Open Lightroom and go to the “Develop” module (Classic) or “Edit” panel (CC).
- Step 3: Open the “Presets” panel on the left/right side.
- Step 4: Click the “+” icon and select “Import Presets.”
- Step 5: Navigate to your XMP files, select them, and click Import.
Beyond the One-Click: How to Fine-Tune Your Presets
A common misconception among beginners is that a preset is a “magic button” that works perfectly on every photo. In reality, every photo has different lighting conditions, white balance, and colors. To achieve a truly professional aesthetic, you must know how to tweak the settings after applying the preset.
1. Adjust the Exposure
This is the most common adjustment. If the preset makes your photo too dark or too bright, move the Exposure slider first. This usually fixes 80% of the issues.
2. Fix the White Balance (Temperature & Tint)
If your photo looks too “orange” or too “blue” after applying a preset, it’s a white balance issue. Use the Temperature slider to warm up or cool down the image until skin tones look natural.
3. Use the HSL Slider (Hue, Saturation, Luminance)
The HSL panel is where the “aesthetic” magic happens.
- Hue: Changes the shade of a color (e.g., making greens look more olive).
- Saturation: Controls the intensity of a color.
- Luminance: Controls the brightness of a specific color. (Pro tip: Increase Orange Luminance to make skin appear glowing and bright).
4. Check the Skin Tones
Many aesthetic presets (especially moody ones) can make skin look muddy or overly saturated. Always look at the faces in your photos. If they look unnatural, go to the Orange and Red sliders in the HSL panel and reduce saturation or increase luminance.
The Importance of RAW vs. JPEG in Preset Application
While you can apply presets to JPEG photos (photos taken with a standard phone camera), you will get much better results with RAW files. RAW files contain more data, allowing Lightroom to recover highlights and shadows that would otherwise be lost in a JPEG. Most modern smartphones now allow you to shoot in “Pro” or “RAW” mode—use it whenever possible!
Common Mistakes Beginners Make with Presets
To help you avoid frustration, here are some pitfalls to watch out for:
- Over-Processing: Sometimes, less is more. If a preset looks too “heavy,” try reducing the Preset Amount slider (available in newer versions of Lightroom) to fade the effect.
- Ignoring the Histogram: Don’t just trust your eyes; check the histogram to ensure you aren’t “clipping” your blacks or whites (losing detail in the darkest or brightest areas).
- Using the Same Preset for Everything: A preset that looks great on a beach photo might look terrible on a forest photo. Build a small library of 5-10 presets for different scenarios.
- Forgetting to Crop and Straighten: No matter how good the colors are, a crooked horizon line will ruin the professional look of your photo.
Organizing Your Preset Library
As you download more free Lightroom presets, your library can become cluttered. Use the “Preset Groups” feature to categorize them. I recommend organizing them by mood or lighting condition, such as:
- Outdoor / Nature
- Indoor / Home
- Portrait / Skin-Focused
- Night / Low Light
- Black & White
Final Thoughts for Beginners
Mastering the use of free Lightroom presets is a journey of trial and error. Don’t be discouraged if a preset doesn’t look perfect immediately. Use it as a foundation, and then use your creative intuition to adjust the sliders. Over time, you will start to recognize exactly what a photo needs—whether it’s a bit more warmth, a touch of grain, or a slight boost in contrast.
By following this aesthetic guide, you are well on your way to transforming your ordinary photos into extraordinary works of art. Remember, the best aesthetic is the one that tells *your* story. Happy editing!
Frequently Asked Questions (FAQ)
Are free Lightroom presets safe to download?
Generally, yes, provided you download them from reputable photography blogs or official creator websites. Always be cautious of sites that ask you to download executable (.exe) files. Real presets are only .DNG, .XMP, or .lrtemplate files.
Do I need a paid Adobe subscription to use presets?
No! You can use the Lightroom Mobile app for free on iOS and Android. While some advanced features (like masking) require a subscription, you can import and apply DNG presets without paying a cent.
Why does my photo look different from the preset preview?
This happens because the original photo used in the preview had different lighting, camera settings, and colors than yours. You will almost always need to adjust the Exposure and White Balance after applying a preset.
Can I use mobile presets on the desktop version?
If you have a Creative Cloud subscription, your presets will sync automatically across devices. If you are using the free mobile version, you can manually move the DNG files to your computer, but the installation process is different.
What is the best aesthetic for Instagram in 2024?
Currently, the “Natural & Minimalist” look is trending. This involves subtle edits that enhance natural colors without making the photo look “over-edited.” Think soft contrast, natural skin tones, and clean whites.