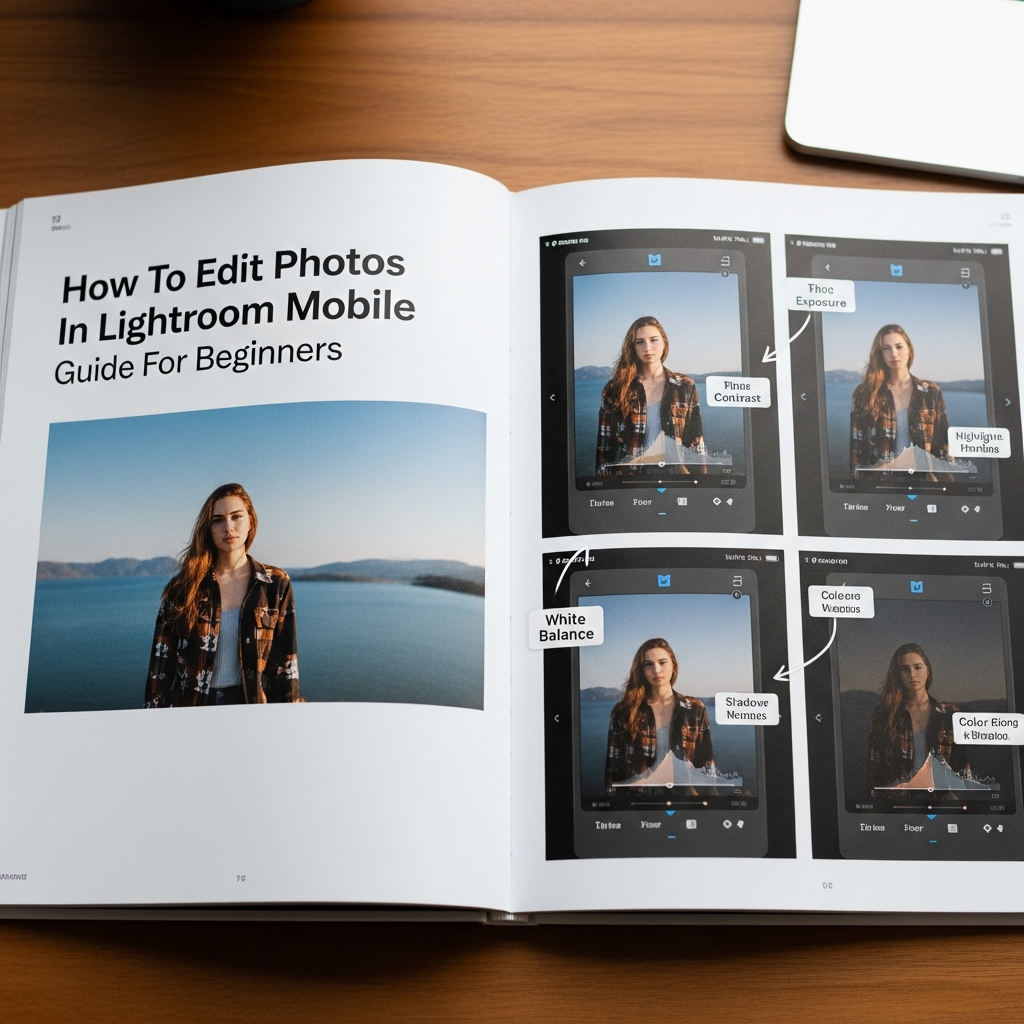
How to Edit Photos in Lightroom Mobile: A Comprehensive Beginner’s Guide
In the modern era of digital storytelling, the bridge between a mediocre snapshot and a professional masterpiece often lies in the post-processing stage. While professional DSLR cameras were once the only gatekeepers to high-quality imagery, the smartphone in your pocket has become a powerhouse of creative potential. To unlock this potential, you need a robust tool, and Adobe Lightroom Mobile stands as the industry leader.
Learning how to edit photos in Lightroom Mobile can initially feel overwhelming due to its vast array of sliders, panels, and AI-driven features. However, once you understand the fundamental workflow, you will gain the ability to transform dull, flat images into vibrant, emotive works of art. This guide is designed to take you from a complete novice to a confident mobile editor.
Why Choose Lightroom Mobile for Your Photography?
Before diving into the technical steps, it is essential to understand why Lightroom Mobile is the preferred choice for millions of photographers worldwide. Unlike basic filter apps, Lightroom offers non-destructive editing. This means you can make endless changes to your photo without ever damaging the original file.
Furthermore, Lightroom Mobile utilizes the same powerful processing engine as the desktop version. Whether you are adjusting the exposure of a landscape or fine-tuning the skin tones in a portrait, you are using professional-grade algorithms. The app also supports RAW photo editing, allowing you to extract the maximum amount of detail from your phone’s sensor.
Getting Started: Importing Your First Photo
The first step in your creative journey is bringing your images into the Lightroom ecosystem. When you open the app, you will see a library interface. You can import photos directly from your device’s camera roll or use the built-in Lightroom camera to shoot in DNG (RAW) format for better quality.
- Tap the “Add Photos” icon at the bottom right of the screen.
- Select the images you wish to edit from your gallery.
- Once imported, tap on the thumbnail to enter the Edit Module.
Once you are in the Edit Module, you will see a toolbar at the bottom of the screen. This is where the magic happens. Let’s break down the essential workflow for a professional result.
The Essential Editing Workflow: Step-by-Step
To achieve consistent results, it is best to follow a logical sequence. While you can jump between tools, following this structured approach will help you maintain balance in your edits.
1. Cropping and Straightening
The first thing you should evaluate is the composition. Even the best colors cannot save a photo with a crooked horizon or distracting elements at the edges. Use the Crop tool to straighten the horizon and apply the “Rule of Thirds” to make your subject stand out.
2. Mastering the Light Panel
The Light panel is the foundation of your edit. This is where you control the brightness and dynamic range of your image. When learning how to edit photos in Lightroom Mobile, you must master these sliders:
- Exposure: Adjusts the overall brightness. Move it carefully to avoid “blowing out” the highlights.
- Contrast: Increases the difference between light and dark areas, adding “punch” to the photo.
- Highlights: Use this to recover detail in bright areas, such as clouds in the sky.
- Shadows: Bring this up to reveal details hidden in dark areas.
- Whites and Blacks: These set the absolute white and black points of your image, ensuring a full range of tones.
3. Perfecting Color and White Balance
Color dictates the mood of your photograph. In the Color panel, you can fix “incorrect” colors caused by lighting or add a creative tint. Start with White Balance. If your photo looks too blue (cold) or too orange (warm), adjust the Temp slider until it looks natural.
Next, understand the difference between Vibrance and Saturation. Saturation increases the intensity of all colors equally, which can often look “fake.” Vibrance is smarter; it targets the less saturated colors first and protects skin tones from becoming too orange.
4. Adding Presence with the Effects Panel
The Effects panel adds “character” to your images. Here are the tools you should focus on:
- Texture: Enhances small details like skin pores or fabric without making the image look “crunchy.”
- Clarity: Increases mid-tone contrast. Use it sparingly to add drama to landscapes.
- Dehaze: Perfect for removing atmospheric fog or adding a moody mist.
- Vignette: Subtly darkens the edges of the frame to draw the viewer’s eye toward the center.
Advanced Tools: Taking Your Edits to the Next Level
Once you are comfortable with the basics, it is time to explore the advanced features that set Lightroom Mobile apart from other apps. These tools require a premium subscription but are worth every penny for serious creators.
The Power of Masking (Selective Adjustments)
One of the most powerful features in Lightroom Mobile is Masking. This allows you to apply edits to specific parts of a photo rather than the whole image. For example, you can darken the sky without affecting the foreground.
Lightroom’s AI can automatically “Select Subject” or “Select Sky” with incredible precision. This is a game-changer for portrait and landscape photographers alike. If the AI isn’t perfect, you can use the Brush or Linear Gradient tools to manually define your mask.
The Healing Tool: Removing Distractions
Nothing ruins a perfect shot like a stray piece of trash on the ground or a sudden blemish on a subject’s face. The Healing tool allows you to “paint over” these distractions. The app will then intelligently sample pixels from another part of the photo to blend the area seamlessly.
Using Presets to Speed Up Your Workflow
If you find yourself making the same adjustments over and over, Lightroom Mobile presets are your best friend. A preset is a saved configuration of sliders that can be applied with a single tap. Many professional photographers sell their own presets, allowing you to achieve their “look” instantly.
However, do not rely on presets as a “one-click fix.” Every photo is shot in different lighting. After applying a preset, you should always go back to the Light and Color panels to fine-tune the exposure and white balance for that specific image.
Understanding Color Grading and HSL
For those who want to develop a unique “signature style,” the Color Mix (HSL) and Color Grading panels are essential. HSL stands for Hue, Saturation, and Luminance. It allows you to target specific colors. For example, if the greens in your landscape look too neon, you can go to the Green tab and lower the Saturation or shift the Hue toward a more natural yellow-green.
Color Grading, on the other hand, allows you to add specific colors to the Shadows, Midtones, and Highlights. This is how “cinematic” looks are created, such as adding a teal tint to the shadows and an orange tint to the highlights.
Expert Tips for Professional Mobile Editing
To truly master how to edit photos in Lightroom Mobile, keep these professional tips in mind:
- Always Edit in RAW: If your phone supports it, shoot in RAW. It contains significantly more data, allowing you to recover details that would be lost in a JPEG.
- Check Your Histogram: Don’t just trust your eyes, especially if your screen brightness is turned up. The histogram shows the mathematical distribution of light in your photo.
- Take Breaks: Your eyes adjust to colors over time. If you edit for an hour, your “perfect” edit might look strange the next morning. Step away and come back with fresh eyes.
- Use the “Before/After” View: Frequently tap and hold on your image to see the original. This prevents you from over-editing and losing the soul of the photograph.
- Copy and Paste Settings: If you have a series of photos shot in the same location, edit one, then use the “Copy Settings” feature to apply the same look to the rest of the batch.
Exporting Your Masterpiece
Once you are satisfied with your edit, you need to export the photo. Tap the Share icon at the top. For social media platforms like Instagram, exporting as a JPEG with 100% quality is usually best. If you plan to print the photo, ensure the “Output Sharpening” is set appropriately for the paper type.
Frequently Asked Questions (FAQ)
Is Lightroom Mobile free to use?
Yes, the core editing features of Lightroom Mobile are free. However, premium features like Masking, the Healing tool, and cloud syncing require an Adobe Creative Cloud subscription.
Can I use Lightroom presets on the mobile app?
Absolutely. You can import DNG-based presets or sync XMP presets from the desktop version if you have a subscription. Presets are an excellent way to learn how to edit photos in Lightroom Mobile by seeing how others move the sliders.
Will Lightroom Mobile reduce the quality of my photos?
No, Lightroom Mobile is designed to maintain the highest quality possible. As long as you export with the correct settings, your images will remain sharp and professional.
How do I fix skin tones in Lightroom Mobile?
The best way to fix skin tones is by using the Orange tab in the Color Mix (HSL) panel. Adjust the Hue to fix redness and increase the Luminance to make the skin appear brighter and smoother.
Conclusion
Mastering how to edit photos in Lightroom Mobile is a journey of constant learning and experimentation. By understanding the core panels—Light, Color, and Effects—and utilizing advanced tools like Masking, you can elevate your mobile photography to professional heights. Remember that editing is subjective; there is no “right” way to edit, only your way. Practice regularly, study the work of photographers you admire, and most importantly, have fun with the creative process. Your smartphone is no longer just a communication device; it is a complete digital darkroom waiting for you to explore.