Mastering Basic Photography Techniques: The Ultimate Guide for Beginners
Photography is more than just clicking a button; it is the art of capturing light to tell a story. For many, the transition from using a smartphone on “Auto” to handling a dedicated camera can feel overwhelming. However, understanding the basic photography techniques for beginners is the foundation upon which all professional skills are built.
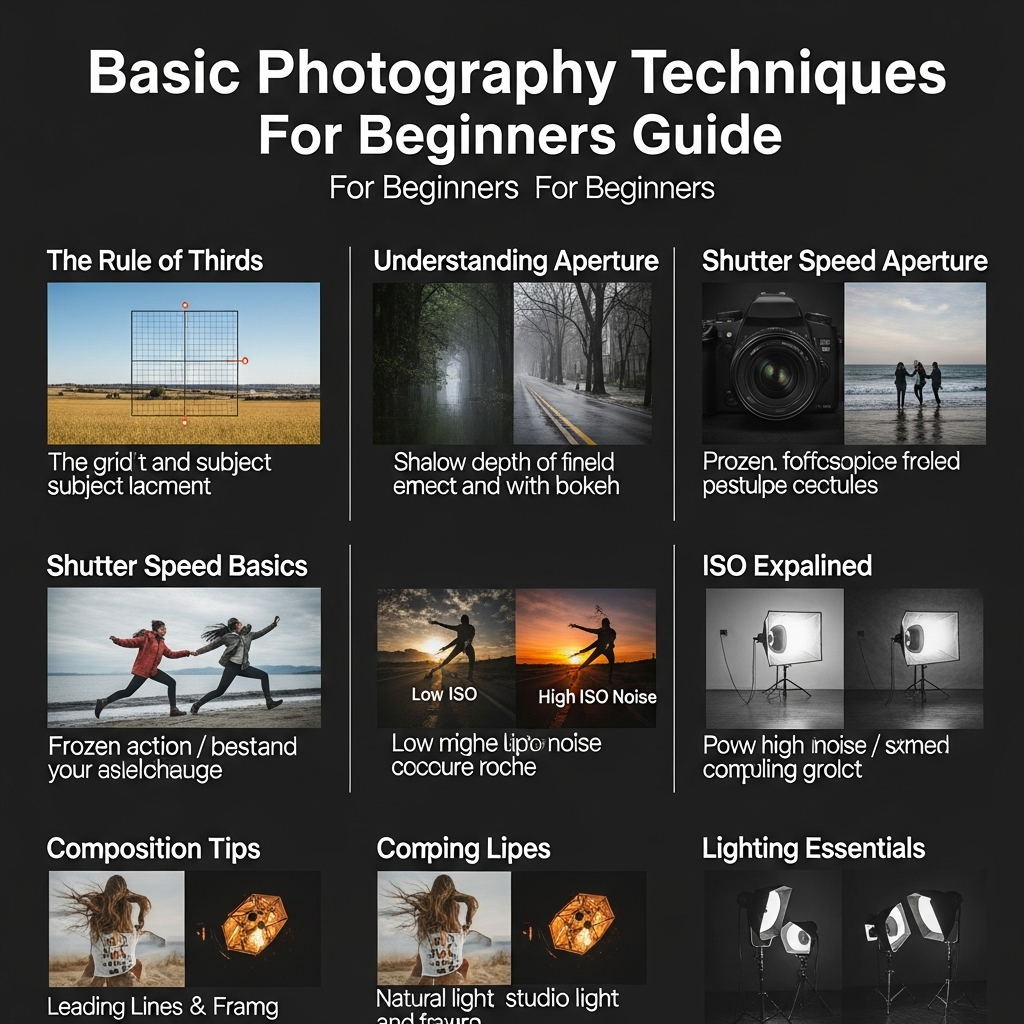
In this comprehensive guide, you will explore the essential elements that define a great photograph. From the technicalities of the exposure triangle to the creative nuances of composition, this pillar content is designed to transform your hobby into a craft. Whether you own a DSLR, a mirrorless camera, or even a high-end smartphone, these principles remain universal.
1. Understanding the Exposure Triangle: The Core of Photography
The exposure triangle is the most critical concept in photography. It consists of three elements: Aperture, Shutter Speed, and ISO. These three pillars work together to determine how much light reaches your camera sensor and how the final image looks.
Aperture (The Eye of the Lens)
Aperture refers to the opening of the lens’s diaphragm. It is measured in “f-stops” (e.g., f/1.8, f/8, f/22). Think of it like the pupil of your eye; it widens in the dark and narrows in bright light.
- Low f-stop (e.g., f/1.8): Creates a wide opening, allowing more light. It results in a “shallow depth of field,” which blurs the background—perfect for portraits.
- High f-stop (e.g., f/16): Creates a narrow opening, allowing less light. It results in a “deep depth of field,” keeping the entire scene in focus—ideal for landscapes.
Shutter Speed (Capturing Time)
Shutter speed is the length of time the camera shutter remains open. It is measured in fractions of a second (e.g., 1/1000 or 1/30).
- Fast Shutter Speed (e.g., 1/1000s): Freezes motion. Use this for sports or flying birds.
- Slow Shutter Speed (e.g., 1/15s or longer): Creates motion blur. Use this for “silky” waterfalls or light trails at night. Note: You will need a tripod for slow speeds to avoid camera shake.
ISO (Sensitivity to Light)
ISO measures the camera sensor’s sensitivity to light. While it helps in dark environments, it comes with a trade-off.
- Low ISO (100-200): Best for bright daylight. It produces the cleanest, sharpest images.
- High ISO (3200+): Used in low light. However, higher ISO introduces “noise” or graininess, which can reduce image quality.
2. Mastering Composition: How to Frame Your Vision
Even with perfect exposure, a photo can fail if the composition is poor. Composition is the arrangement of visual elements within the frame. Mastering these basic photography techniques for beginners will immediately elevate your work.
The Rule of Thirds
Imagine your frame is divided into a 3×3 grid (nine equal rectangles). Instead of placing your subject directly in the center, place it along the grid lines or at the intersections. This creates more balance and visual interest than a centered subject.
Leading Lines
Use natural lines—such as roads, fences, or rivers—to lead the viewer’s eye toward the main subject. Leading lines create a sense of depth and pull the audience into the story you are telling.
Framing Within the Frame
Look for natural frames like windows, overhanging branches, or archways. By placing these elements in the foreground, you create a “frame” around your subject, adding layers and context to the image.
Symmetry and Patterns
Humans are naturally drawn to symmetry. Capturing a perfectly symmetrical building or a reflection in a lake can be very impactful. Conversely, breaking a pattern can also create a powerful focal point.
3. The Importance of Lighting: Painting with Light
The word “photography” literally means “drawing with light.” Understanding how light behaves is essential for any beginner.
The Golden Hour
Professional photographers often schedule their shoots during the Golden Hour—the first hour after sunrise and the last hour before sunset. The light is soft, warm, and creates long, beautiful shadows. It is the most forgiving light for beginners.
Hard vs. Soft Light
- Hard Light: Occurs under direct midday sun. It creates harsh shadows and high contrast. While difficult to master, it is great for dramatic, edgy shots.
- Soft Light: Occurs on cloudy days or in the shade. It wraps around subjects gently, minimizing wrinkles and shadows—perfect for flattering portraits.
4. Focus and Sharpness: Getting the Details Right
A blurry photo is often a discarded photo. To ensure your images are tack-sharp, you must understand your camera’s focusing system.
Single Point vs. Area Focus
Most cameras allow you to choose a specific focus point. For portraits, always aim the focus point at the subject’s eyes. If the eyes aren’t sharp, the portrait will feel disconnected.
Autofocus Modes
- AF-S (Single-Servo): The camera locks focus once. Best for stationary subjects.
- AF-C (Continuous-Servo): The camera keeps refocusing as the subject moves. Essential for kids, pets, or sports.
5. White Balance: Getting the Colors Right
Have you ever taken a photo that looked too blue or too orange? This is a White Balance issue. Different light sources have different “color temperatures.”
- Daylight/Sunny: Neutral.
- Cloudy: Adds warmth to counteract the blue tint of overcast skies.
- Tungsten (Indoor Bulbs): Cools down the orange glow of indoor lighting.
While “Auto White Balance” (AWB) is generally good, learning to set it manually ensures consistent colors across your photo session.
6. Camera Modes: Moving Beyond “Auto”
To truly apply basic photography techniques for beginners, you must take control of your camera settings. You don’t have to go full Manual immediately; try these semi-automatic modes first:
- Aperture Priority (A or Av): You set the Aperture, and the camera chooses the Shutter Speed. Great for controlling depth of field.
- Shutter Priority (S or Tv): You set the Shutter Speed, and the camera chooses the Aperture. Best for moving subjects.
- Manual Mode (M): You control everything. This is the ultimate goal for full creative freedom.
7. Post-Processing: The Final Polish
In the digital age, the “click” is only half the process. Editing (or post-processing) allows you to correct minor exposure errors and enhance colors. Software like Adobe Lightroom or free mobile apps like Snapseed are excellent starting points.
Pro Tip: Shoot in RAW format instead of JPEG. RAW files contain much more data, allowing you to recover details in shadows and highlights that would otherwise be lost.
8. Common Mistakes to Avoid
- Centering Everything: It makes photos look static. Use the Rule of Thirds.
- Ignoring the Background: A beautiful portrait can be ruined by a tree branch appearing to grow out of the subject’s head.
- Over-Editing: Beginners often push saturation and contrast too far. Keep it natural.
- Not Checking the Edges: Ensure there are no distracting elements (like a trash can) at the edges of your frame.
9. Practical Exercises for Beginners
Theory is useless without practice. Try these three exercises this week:
- The Depth Challenge: Take a photo of a flower at f/1.8, then at f/8, then at f/22. Observe how the background changes.
- The Motion Hunt: Go to a busy street. Practice freezing cars at 1/1000s and blurring them at 1/15s.
- The Light Walk: Take a photo of the same object at noon, at 5 PM, and at 8 PM. See how the mood shifts.
Conclusion
Mastering basic photography techniques for beginners takes time, patience, and a lot of “bad” photos. Remember that every professional was once a beginner who didn’t know how to balance the exposure triangle. By understanding Aperture, Shutter Speed, ISO, and Composition, you are no longer just taking pictures—you are creating images.
Grab your camera, step outside, and start practicing. The world looks different when you view it through a lens. Your journey to becoming a skilled photographer starts with the very next shot you take.
Frequently Asked Questions (FAQ)
What is the most important setting for a beginner?
The most important concept is the Exposure Triangle. However, if you are just starting, mastering Aperture is often the most rewarding, as it has the most visible impact on the “professional look” of your photos through background blur.
Do I need an expensive camera to learn photography?
No. Most modern entry-level cameras and even high-end smartphones allow you to control basic settings. The principles of composition and lighting are the same regardless of the gear you use.
Should I shoot in Manual mode right away?
Not necessarily. It is often better to start in Aperture Priority mode. This allows you to learn how one variable affects the image without being overwhelmed by managing all three settings at once.
What is the “Rule of Thirds” in simple terms?
It is a composition guide that suggests placing your subject off-center, specifically on the lines or intersections of a 3×3 grid, to make the image more balanced and engaging.
How can I make my photos sharper?
To ensure sharpness, use a faster shutter speed (at least 1/125s for handheld), ensure your focus point is on the subject’s eyes, and use a tripod if you are shooting in low light.