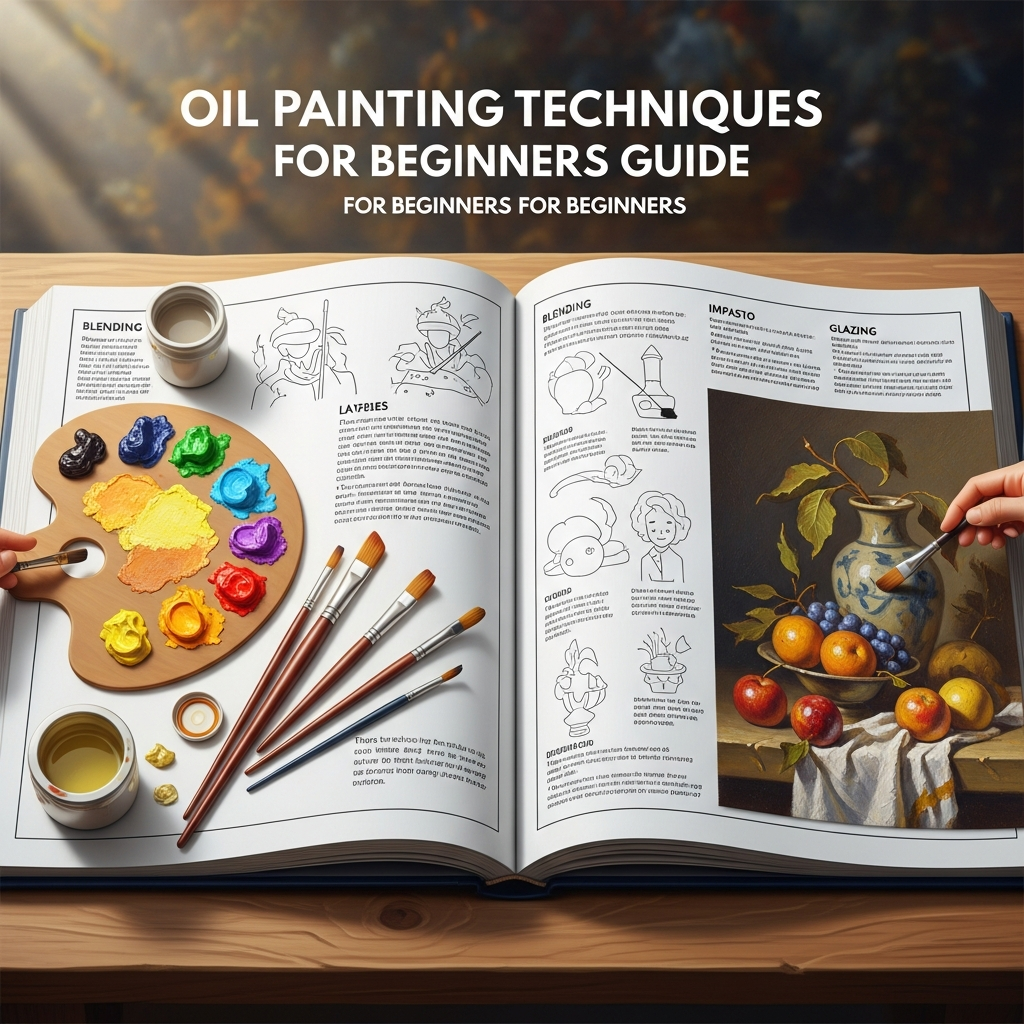
Oil Painting Techniques for Beginners: A Comprehensive Guide to Mastering the Craft
Oil painting has long been considered the pinnacle of fine art, utilized by the world’s most renowned masters throughout history. From the luminous portraits of the Renaissance to the expressive strokes of modern impressionism, oil paint offers a richness and versatility that other mediums often struggle to match. If you have ever felt intimidated by the complexity of oil paints, you are certainly not alone, but you will soon discover that this medium is remarkably forgiving and accessible.
Understanding the Allure of Oil Painting
The primary appeal of oil painting lies in its slow drying time. Unlike acrylics, which dry in minutes, oil paints remain workable for days or even weeks. This allows you to blend colors directly on the canvas, make corrections with ease, and take your time developing the perfect composition. Furthermore, the high pigment concentration in professional oil paints results in deep, vibrant colors that maintain their brilliance long after the painting is finished.
As a beginner, you must approach oil painting with patience and a willingness to experiment. The medium behaves differently than water-based paints because it relies on chemical oxidation rather than simple evaporation. Understanding these physical properties is the first step toward becoming a proficient oil painter. In this guide, we will break down everything you need to know to start your journey with confidence.
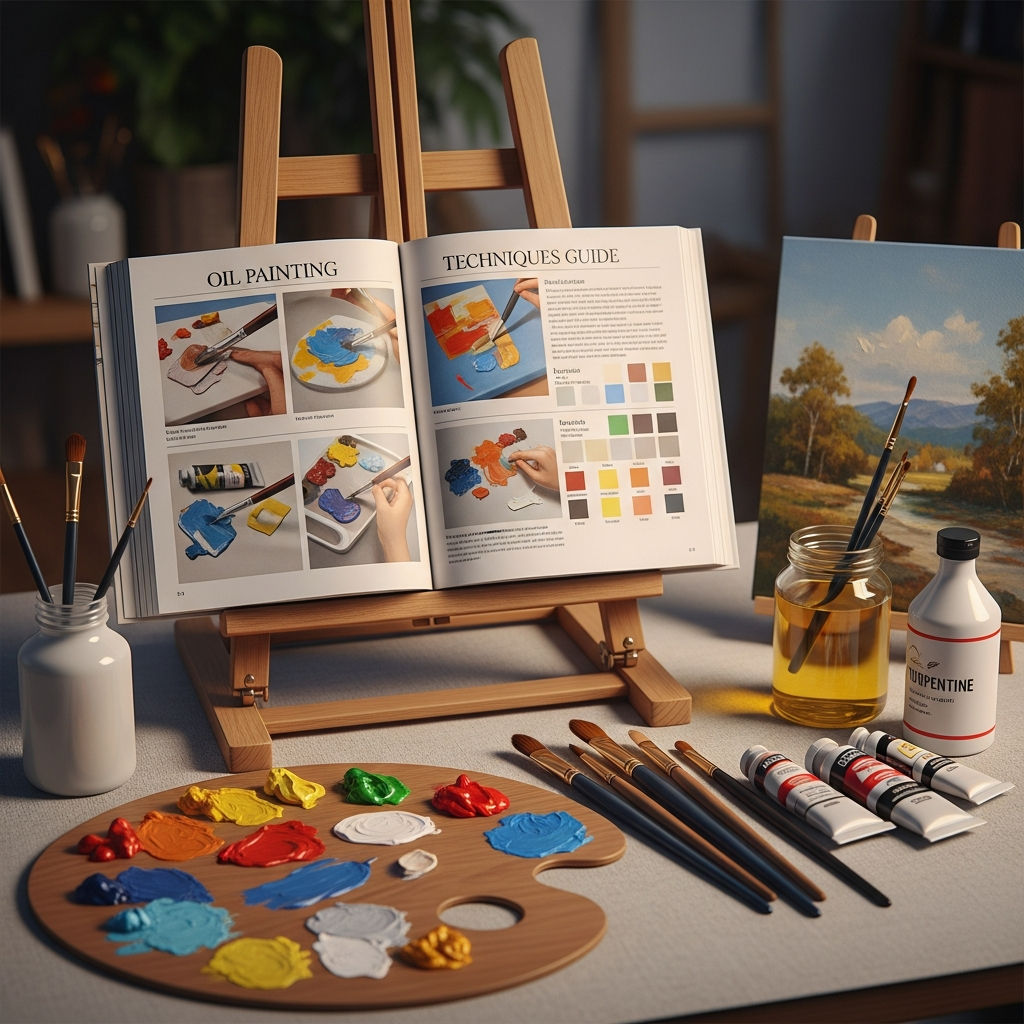
Essential Materials for Your First Oil Painting
Before you apply your first brushstroke, you must gather the necessary tools. While it is tempting to buy everything available at the art store, you only need a few high-quality essentials to get started. Investing in artist-grade materials will often yield better results and less frustration than using lower-quality student-grade alternatives.
1. The Paint Palette
You do not need every color in the rainbow to create a masterpiece. Many professionals recommend starting with a limited palette of primary and secondary colors. A standard starter set usually includes Titanium White, Ivory Black, Cadmium Red, Ultramarine Blue, Cadmium Yellow, and Burnt Umber. With these colors, you can mix almost any hue imaginable.
2. Brushes and Palette Knives
Brushes for oil painting are typically made of hog hair (bristle) or synthetic fibers. Bristle brushes are excellent for thick applications and texture, while synthetic brushes are better for fine details and smooth blending. You should aim to have a variety of shapes, including Flats, Brights, Filberts, and Rounds. Additionally, a palette knife is essential for mixing paint on your palette without damaging your brushes.
3. Solvents and Mediums
Because oil and water do not mix, you cannot clean your brushes with water alone. You will need a solvent, such as Odorless Mineral Spirits (OMS), to thin the paint and clean your tools. Mediums, such as linseed oil or walnut oil, are used to change the consistency and drying time of the paint. Beginners should start with a simple 50/50 mix of solvent and linseed oil.
4. The Painting Surface
Oil paint is corrosive over time, so it must be applied to a primed surface. Most beginners use pre-stretched canvases or canvas boards that have been treated with Gesso. You can also paint on wood panels or heavy paper, provided they are properly primed to prevent the oil from soaking into the fibers.
Setting Up a Safe and Efficient Workspace
Safety is paramount when working with oil paints and solvents. Many traditional solvents emit fumes that can be harmful if inhaled in large quantities over long periods. Therefore, you must ensure that your workspace is well-ventilated. Opening a window or using a fan to circulate air is highly recommended.
Organization is also key to a successful painting session. Arrange your easel so that you have a clear view of your subject or reference photo. Place your palette at a comfortable height, and keep your rags or paper towels within easy reach. Oil painting can be messy, so wearing an apron or old clothing is a wise decision for any aspiring artist.
Core Principles of Oil Painting
To achieve professional results, you must adhere to several fundamental “rules” of oil painting. These principles ensure that your painting remains stable and does not crack as it dries over the coming months and years.
- Fat Over Lean: Always apply paint with more oil content (fat) over layers with less oil content (lean). This ensures that the top layers dry slower than the bottom layers, preventing cracking.
- Thick Over Thin: Apply thicker layers of paint toward the end of the painting process. Thin, solvent-rich layers should be used for the initial sketch and underpainting.
- Slow Drying Over Fast Drying: Some pigments dry faster than others. Try to use faster-drying colors in the lower layers of your work.
Fundamental Oil Painting Techniques
Once you have your materials ready and understand the core principles, it is time to explore the specific techniques that give oil painting its unique character. Mastery of these methods will allow you to express your vision with precision.
The Underpainting Technique
Most oil paintings begin with an underpainting. This is a thin, monochromatic layer of paint (usually Burnt Umber or Raw Sienna) that establishes the values and composition of the piece. By mapping out the light and dark areas first, you create a solid foundation for the subsequent layers of color. This technique also removes the “intimidation” of a blank white canvas.
Alla Prima (Wet-on-Wet)
Alla Prima, an Italian phrase meaning “at first attempt,” involves completing a painting in a single session while the paint is still wet. This technique is favored by many modern artists for its spontaneity and expressive brushwork. It requires a confident hand, as you are blending colors directly on the canvas as you go. This is an excellent way for beginners to learn about color mixing and brush control.
Glazing for Depth and Luminosity
Glazing is the process of applying a thin, transparent layer of paint over a dry underlayer. This allows light to pass through the glaze and reflect off the bottom layer, creating a luminous effect that cannot be achieved by mixing colors on the palette. Glazing is perfect for capturing the subtle tones of human skin or the glowing atmosphere of a sunset.
Scumbling for Texture
Scumbling is almost the opposite of glazing. It involves applying a thin, opaque layer of “dry” paint (paint with very little medium) over a dry underlayer. By using a stiff brush and a light touch, you can create a broken, textured effect that allows the color underneath to peek through. This is ideal for painting clouds, sea foam, or rough stone surfaces.
Impasto for Dramatic Impact
The impasto technique involves applying paint very thickly, often with a palette knife or a heavily loaded brush. The paint stands out from the surface, creating physical texture and 3D relief. This technique was famously used by Vincent van Gogh to add energy and movement to his works. Impasto catch the light in unique ways, adding a tactile quality to your art.
Mastering Color Theory and Mixing
Color is one of the most powerful tools in an artist’s arsenal. Understanding how colors interact is essential for creating harmony and realism in your work. Beginners should spend time practicing color mixing before diving into a full composition.
Start by creating a color wheel using your primary colors. Learn how to create secondary colors (green, orange, purple) and tertiary colors. More importantly, learn how to “mute” or desaturate a color by adding its complement (the color opposite it on the color wheel). For example, adding a tiny bit of orange to blue will create a more natural, subtle tone rather than a vibrant, artificial-looking blue.
When mixing on your palette, always start with the lighter color and gradually add the darker pigment. Dark pigments are often much stronger and can easily overwhelm a lighter mix. Use your palette knife for mixing to keep your brushes clean and prevent them from becoming clogged with excess paint.
Step-by-Step Guide to Your First Painting
If you are ready to start, follow this simplified workflow for your first project. A simple still life, such as an apple or a vase, is a perfect subject for practice.
Step 1: Sketch and Underpainting
Using a small round brush and thinned Burnt Umber, lightly sketch the outlines of your subject. Once the proportions are correct, use a larger brush to block in the darkest shadows. Keep this layer very thin using plenty of solvent.
Step 2: Blocking in Local Color
Identify the main colors of your subject. Mix these on your palette and apply them to the canvas in broad shapes. Do not worry about details or perfect blending yet. Focus on getting the correct values (how light or dark a color is) and the general placement of colors.
Step 3: Refining and Blending
Once the canvas is covered, start refining the shapes. Use a clean, dry brush to gently blend the edges where two colors meet. Add mid-tones to create a smooth transition between the shadows and the highlights. This is where the painting begins to look three-dimensional.
Step 4: Adding Highlights and Details
The final step is to add the brightest highlights. Use a small brush and thick, “fat” paint (more oil, less solvent). These highlights should be placed sparingly on the areas where the light source hits the subject most directly. Add any final fine details, such as textures or sharp edges, to finish the piece.
Cleaning and Maintaining Your Equipment
Proper maintenance will extend the life of your brushes and keep your colors pure. Never let oil paint dry on your brushes, as it is incredibly difficult to remove once hardened. Follow these steps after every painting session:
- Wipe: Use a rag or paper towel to remove as much excess paint as possible from the bristles.
- Rinse: Swish the brush in a container of Odorless Mineral Spirits to dissolve the remaining oil.
- Wash: Use a specialized brush soap or mild dish soap and warm water to wash the bristles until the suds are white.
- Reshape: Gently reshape the bristles with your fingers and lay the brushes flat to dry. Never store them upright while wet, as water can seep into the ferrule and damage the glue.
Final Thoughts for the Aspiring Artist
Oil painting is a journey of discovery. Your first few paintings may not be masterpieces, but each one will teach you something valuable about the medium. The key is to practice consistently and not be afraid to make mistakes. Remember that oil paint is incredibly forgiving; if you don’t like a section, you can simply scrape it off with a palette knife and try again.
As you progress, continue to study the works of masters and experiment with different mediums and tools. Whether you prefer the classical approach of glazing or the modern energy of alla prima, oil painting offers endless possibilities for creative expression. Enjoy the process, embrace the slow pace, and watch your skills flourish over time.
Frequently Asked Questions (FAQ)
How long does it take for an oil painting to dry?
Oil paint dries through oxidation, not evaporation. A painting is usually “touch-dry” in 2 to 12 days, depending on the thickness of the paint and the environment. However, it takes 6 to 12 months for a painting to fully cure before it can be safely varnished.
Is oil painting more difficult than acrylic painting?
It is not necessarily more difficult, just different. Many beginners find oil painting easier because the slow drying time allows for better blending and more time to correct mistakes. However, the management of solvents and the “fat over lean” rule require a bit more technical knowledge.
Can I paint with oils in a small apartment?
Yes, you can. To do so safely, use Odorless Mineral Spirits and keep a window open for ventilation. Alternatively, you can explore “Water-Mixable Oil Paints,” which allow you to clean up with soap and water and avoid traditional solvents entirely.
What is the best brush for a beginner?
A medium-sized Filbert brush is often considered the most versatile for beginners. Its rounded edges allow for both broad strokes and softer blending, making it suitable for a wide range of subjects.
Do I need to varnish my oil painting?
Varnishing is recommended because it protects the surface from dust, UV light, and atmospheric pollutants. It also evens out the sheen of the painting, making the colors pop. Just remember to wait at least six months before applying a final picture varnish.